Any user account: The account does not need to have specific permissions, though we recommend using a regular user account for this purpose.
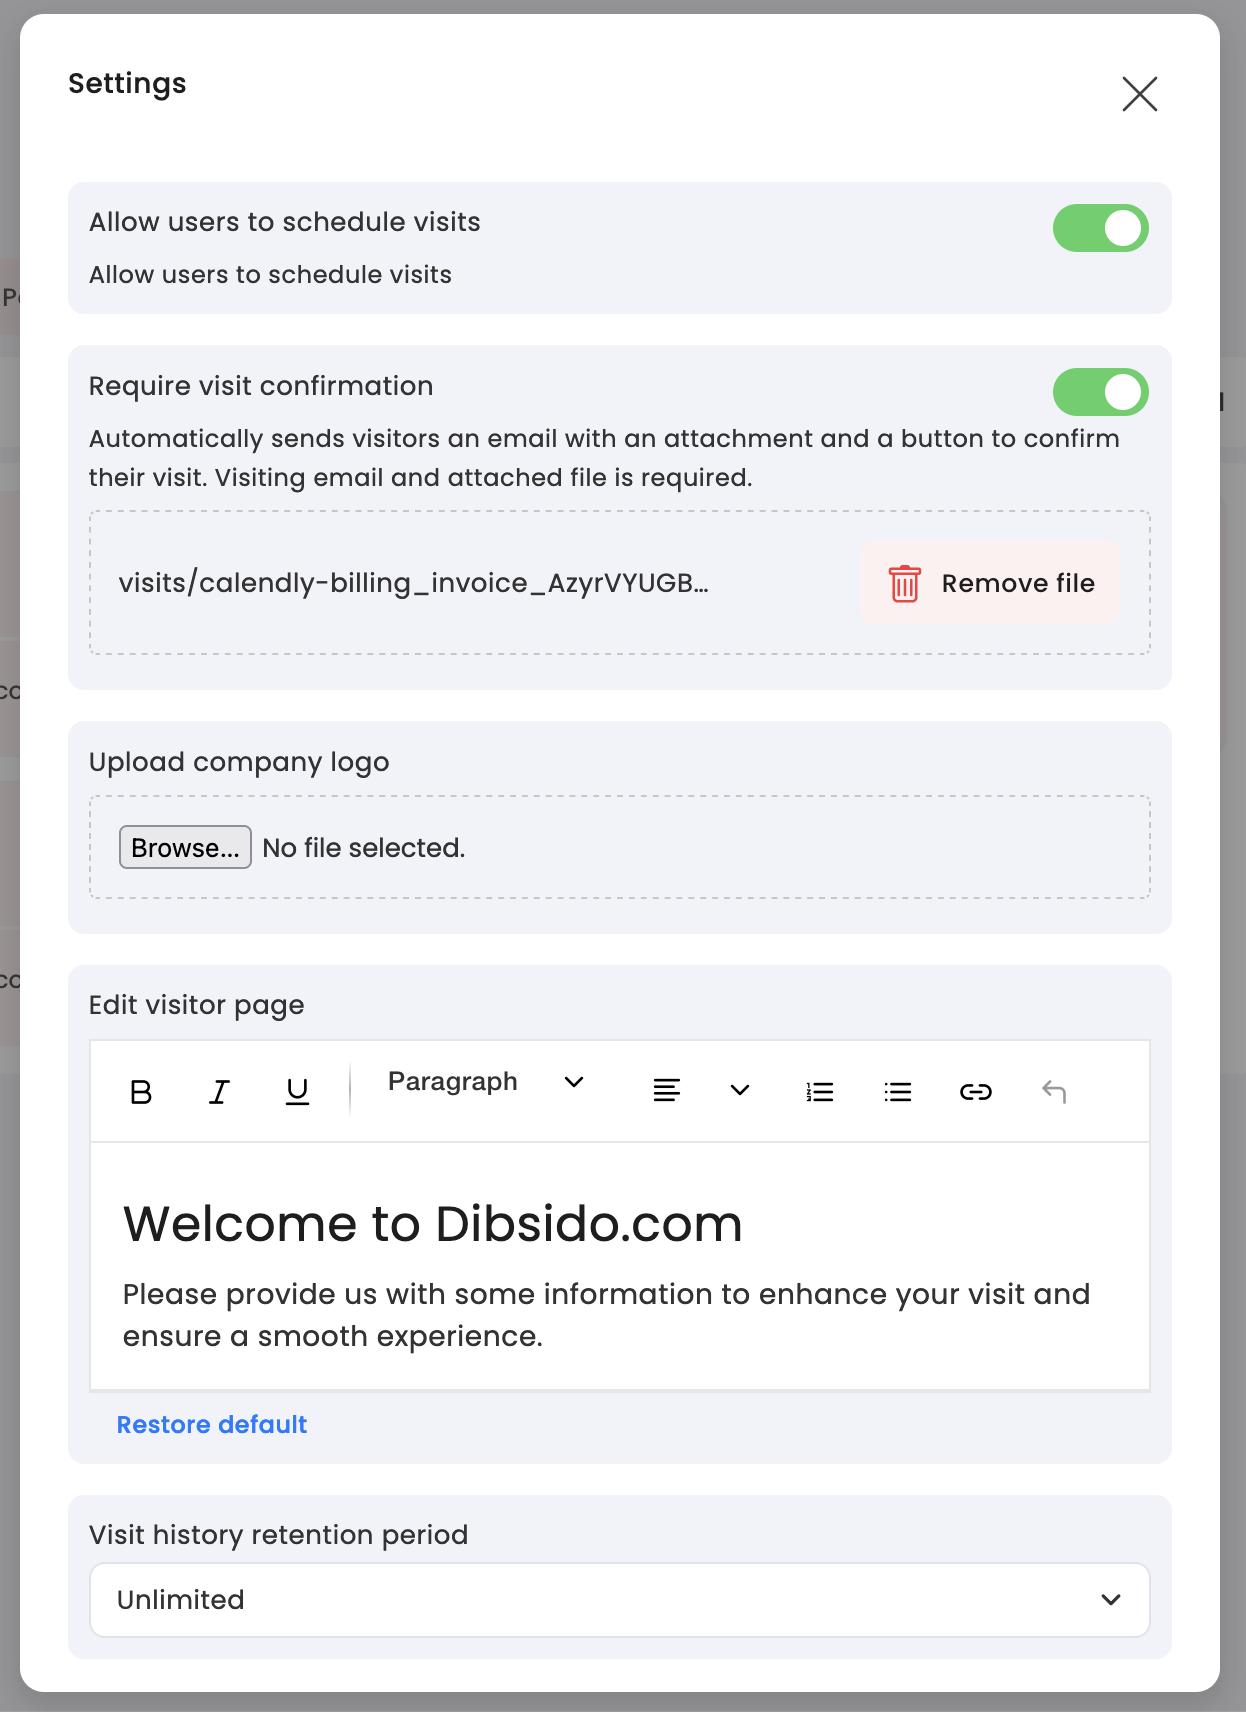
Enable visitor scheduling: Make sure the Allow users to schedule visits option is toggled on in the visits settings.
Login on your tablet:
Open the Dibsido app on your tablet device.
Log in with any user account.
Access the user dashboard:
Once logged in, navigate to the Dashboard.
Add a visitor:
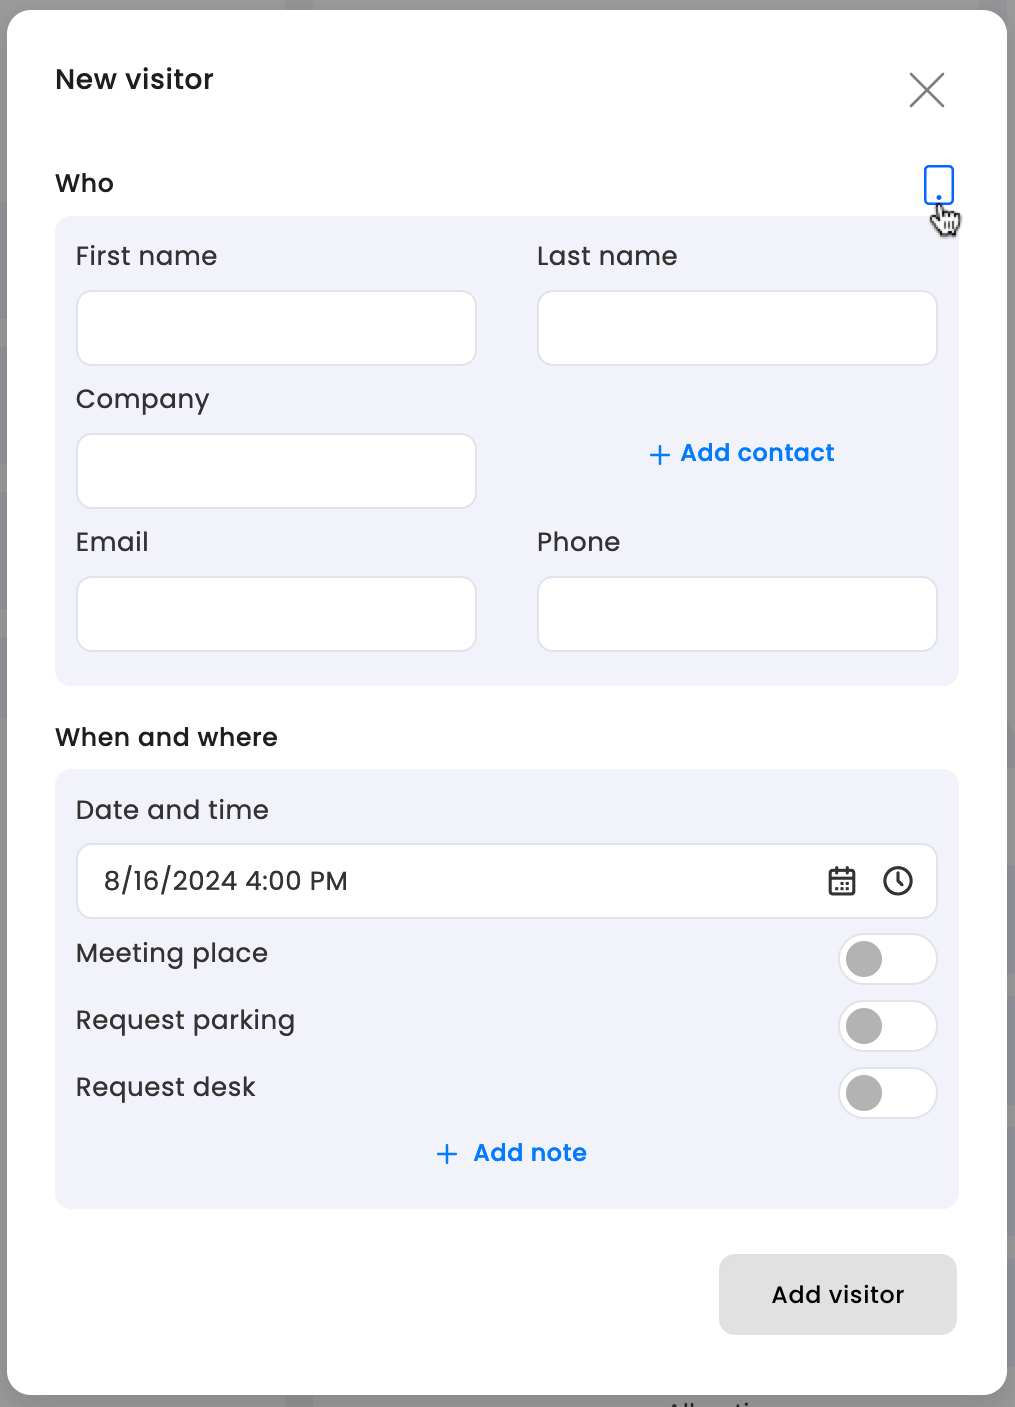
In the Quick Actions section of the dashboard, click on Add visitor.
Enable tablet view:
In the popup window where you add visitor details, click on the tablet icon located in the top right corner.

Set up the tablet:
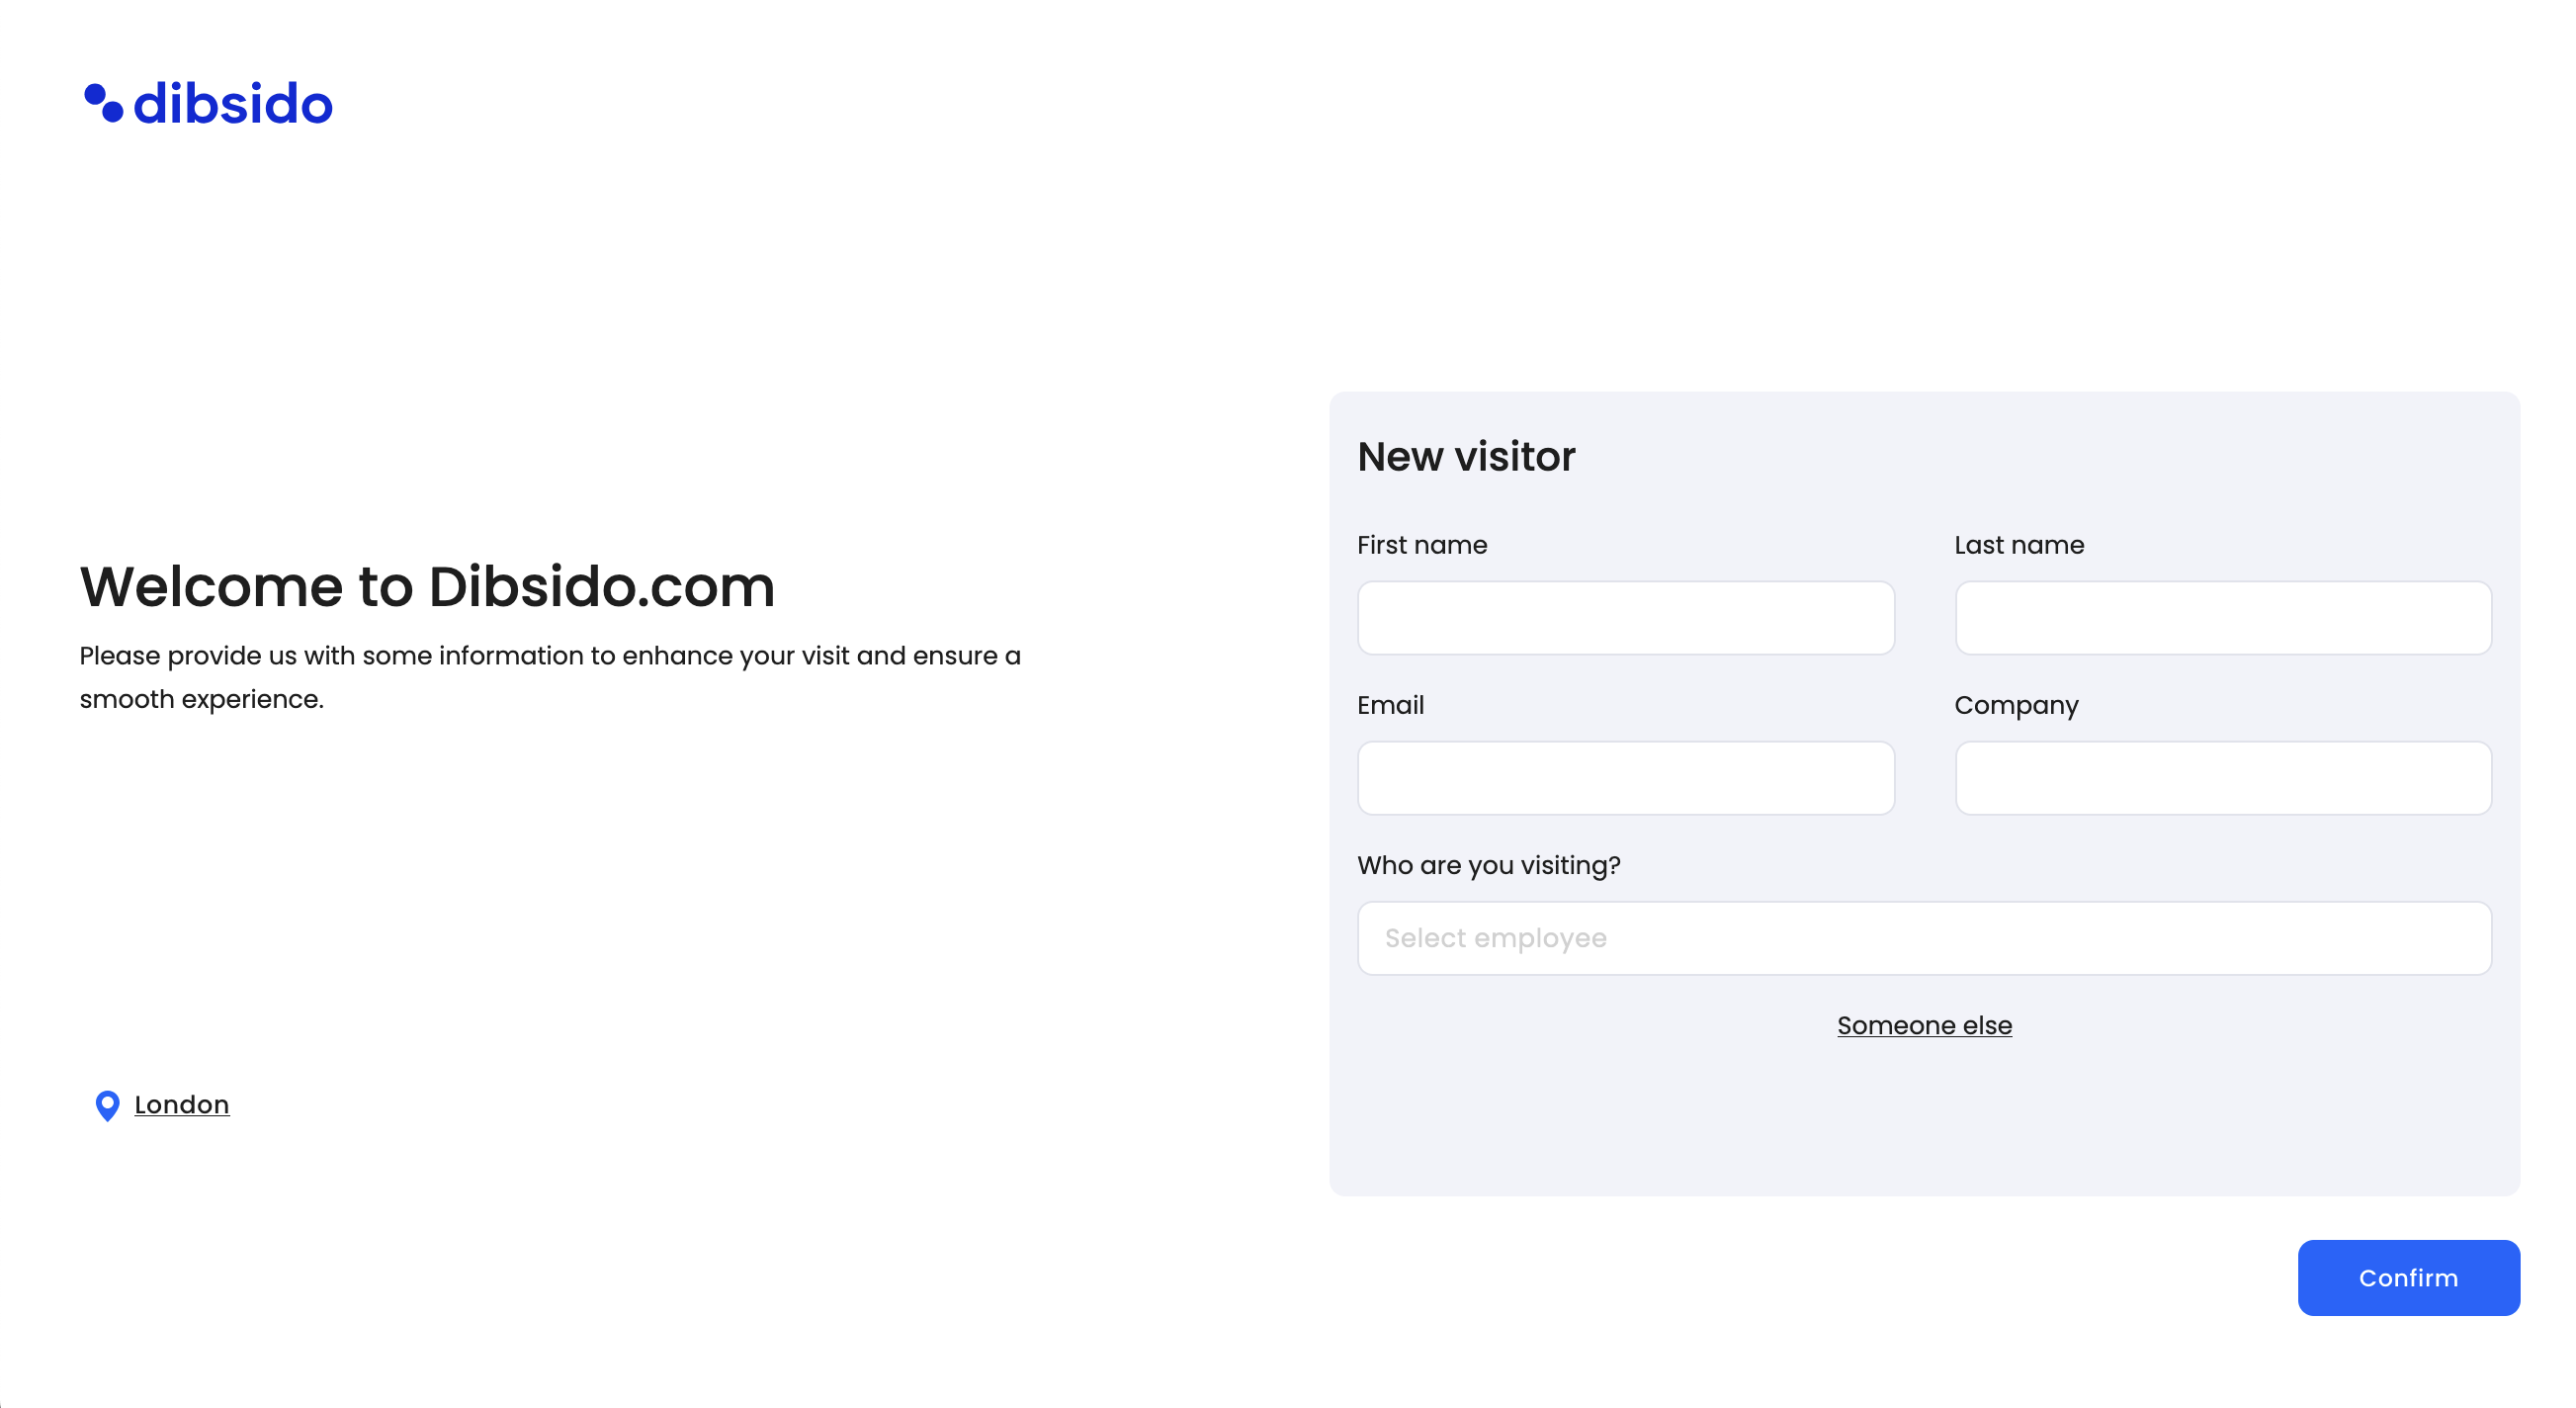
Once the tablet view is enabled, the interface will display a user-friendly screen where visitors can easily check themselves in. Place the tablet at the reception or entrance so that visitors can use it for self-check-in.
To personalize the visitor experience, you can customize the tablet screen:
Visit settings: Go to the Visits settings in the Dibsido app.
Add welcoming text: Enter a welcoming message that visitors will see when they check in.
Company logo: Upload your company logo to display it prominently on the tablet screen.

Once everything is set up on the tablet, it is ready for use. Visitors can now easily check themselves in using the tablet view, improving the efficiency of your office's guest management process.
This setup not only streamlines the check-in process but also leaves a positive impression on your visitors by offering a modern, self-service option.
