Access the Notices Module:
Go to the main menu and click on "Office."
Select "Notices" from the dropdown options.
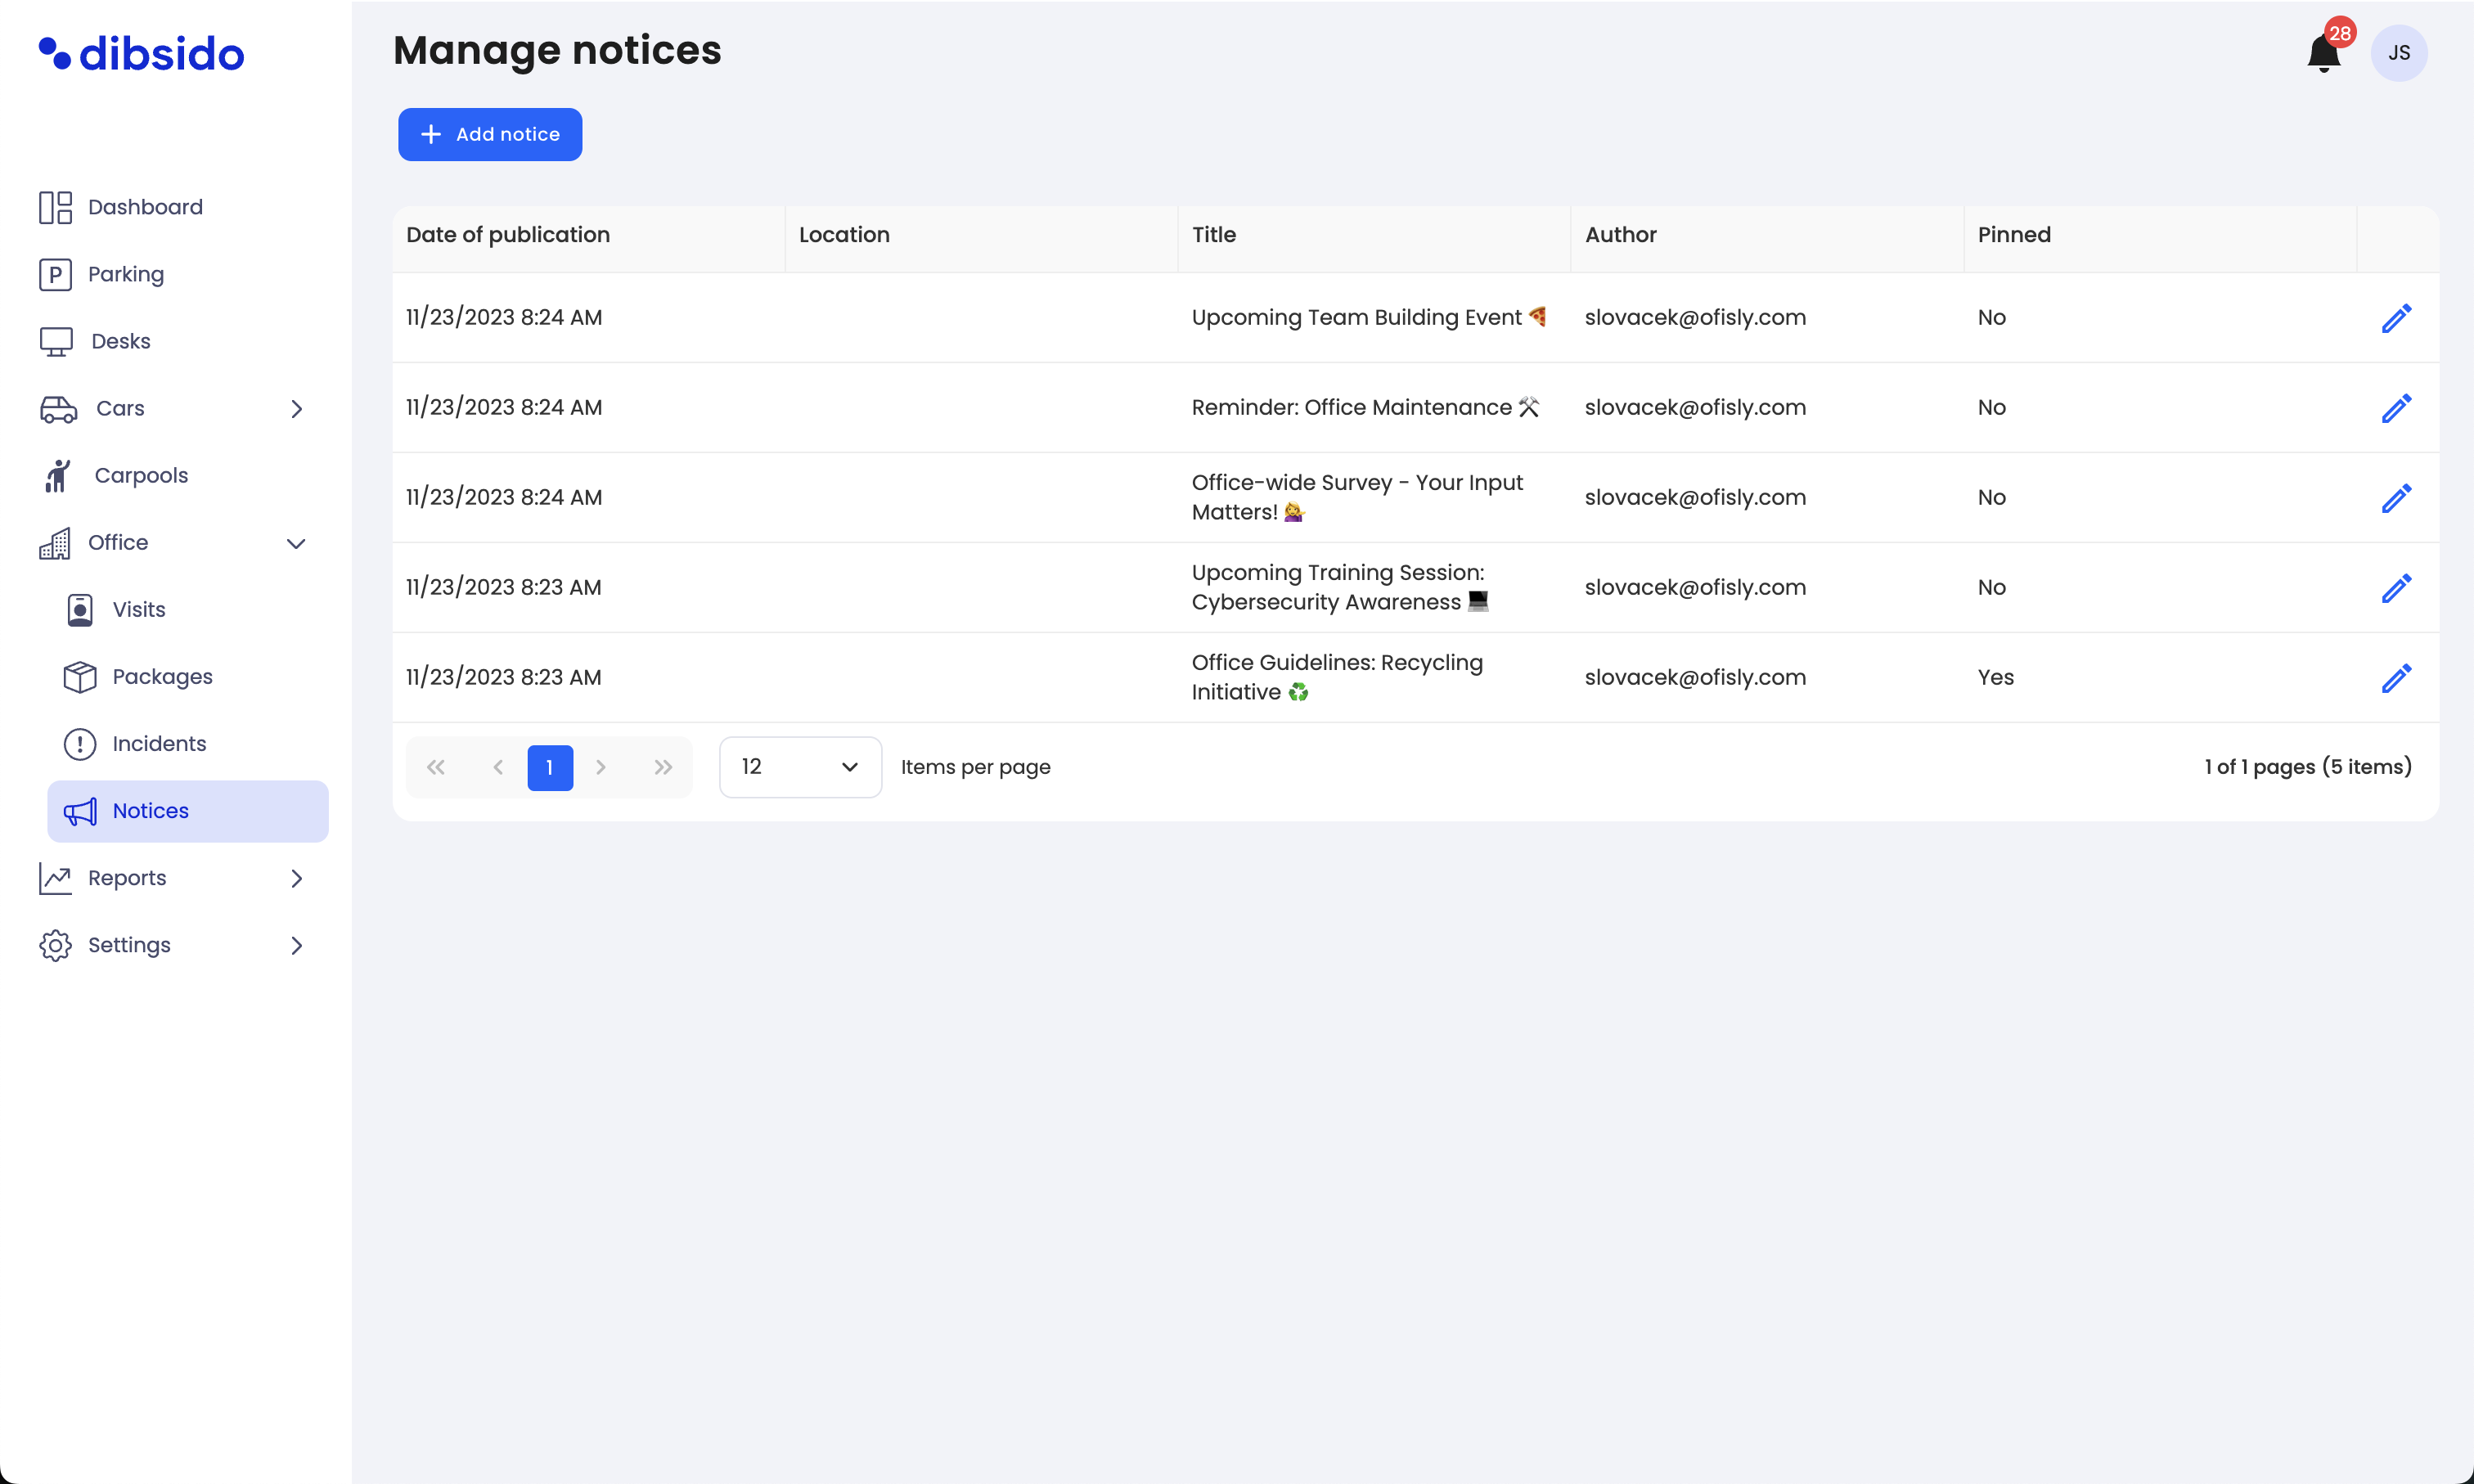
Create a New Notice:
Click on the "Add Notice" button at the top of the screen.
A form will appear where you can input the details of your notice.
Fill in the Notice Details:
Title: Provide a clear and concise title for the notice.
Location: Select the location or branch where this notice will be applicable.
Validity Period: Set the date range for when the notice will be visible to employees.
Notice Content: Enter the main content of the notice, including any necessary details.
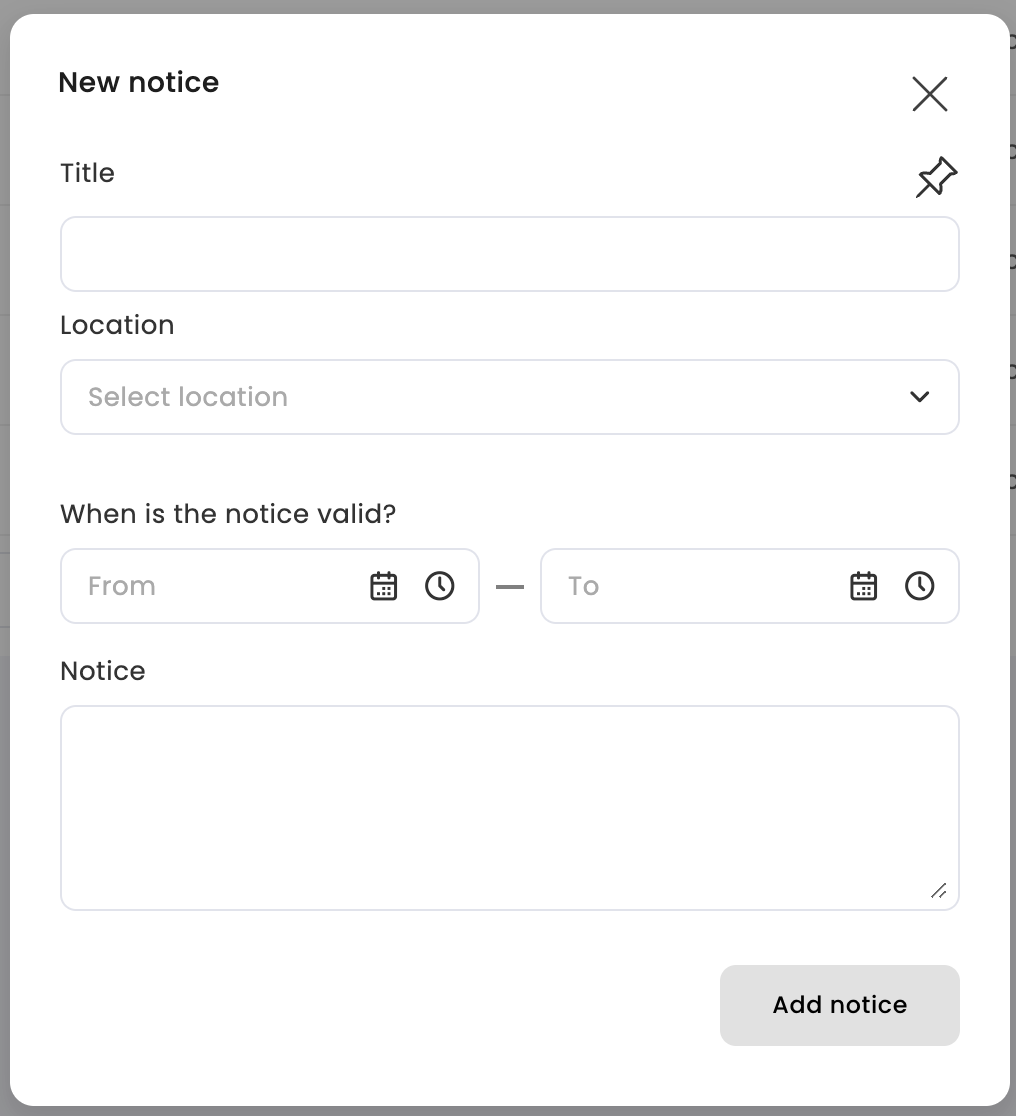
Pin the Notice (Optional):
If the notice is of high importance, you can pin it to ensure it remains at the top of the list.
Publish the Notice:
Once all the details are filled in, click "Add Notice" to publish it.
Employees will now see the notice on their dashboard, ensuring they are informed about critical updates or events.
The notice feature is a part of the Office Management module and is designed to help administrators keep all employees informed about important matters in the office. Notices can be tailored to specific locations and set to expire after a certain period, ensuring that information remains relevant and up-to-date.
