User registration is based on email invitations. Colleagues need to accept the invite to access Dibsido.
Go to users: Navigate to the "Users" section, which is in the settings menu within the Dibsido app.
Add user: Click on the "Add User" button.
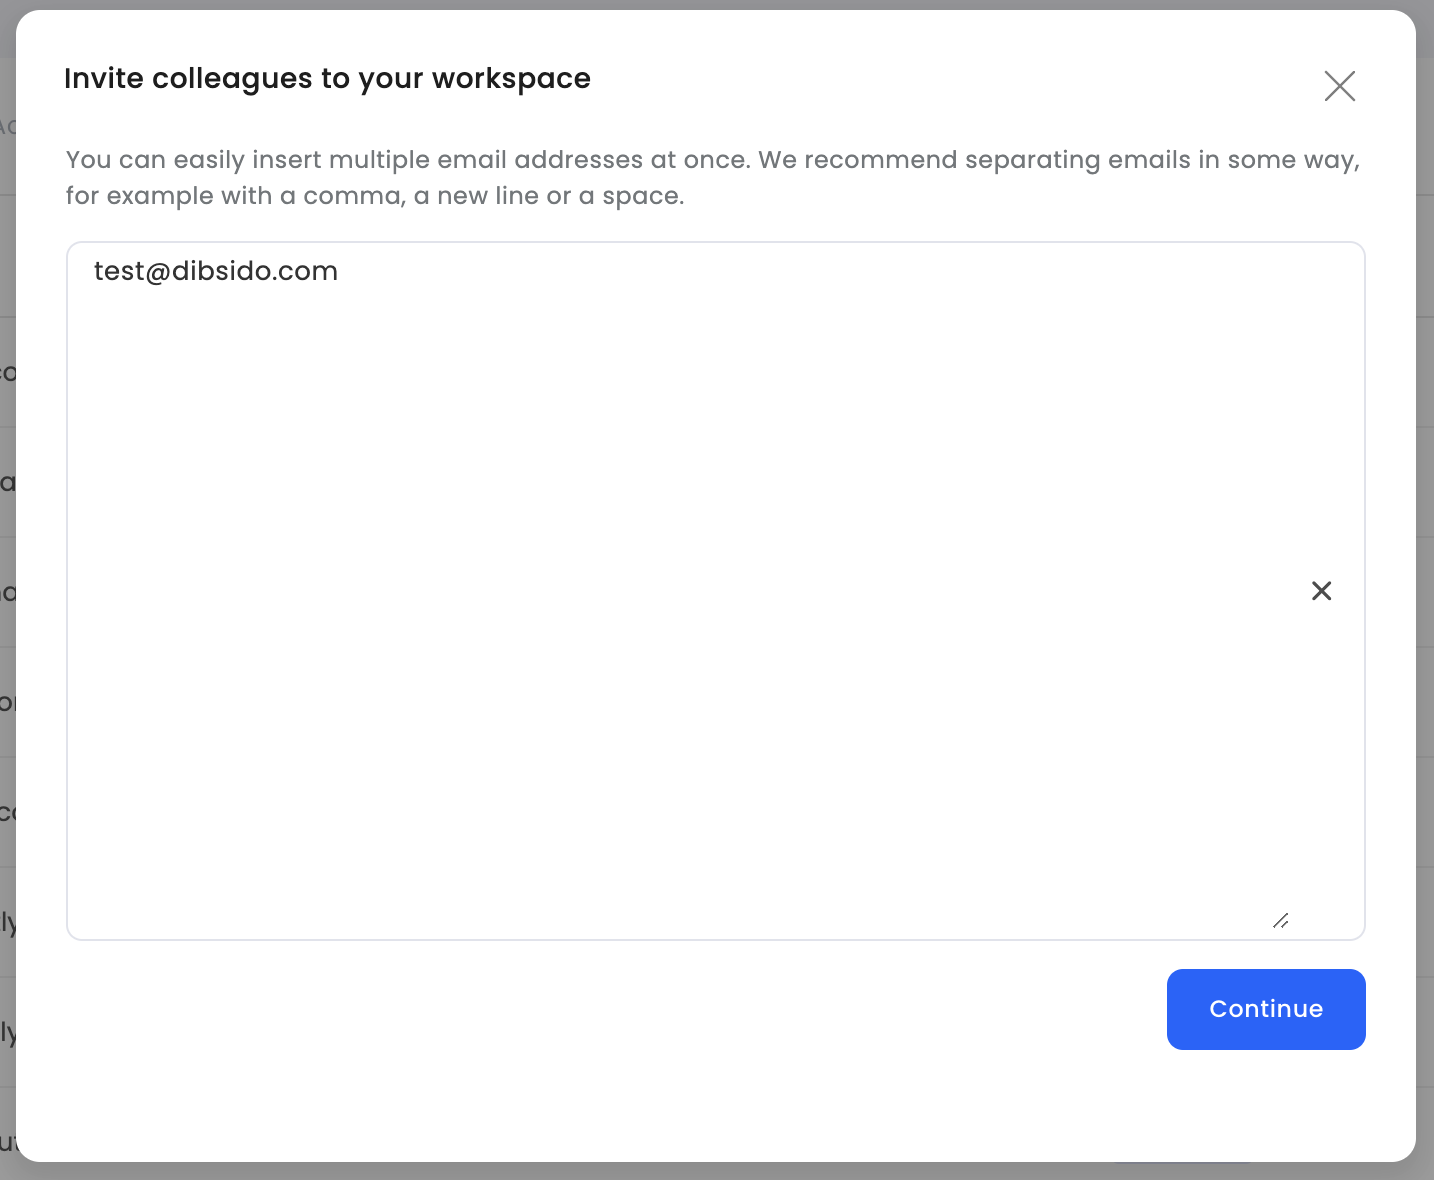
Enter email addresses: Write down the email addresses of the colleagues you want to invite, or copy and paste them from your file.
Set roles: In the next step, Dibsido will recognize the addresses, and you can immediately set the role you want to assign to each user.
Send invites: Confirm your entries, and Dibsido will send email invitations to the selected employees.
Acceptance: Colleagues need to accept the invitation to gain access to Dibsido.

Once users have accepted their invitations, you can manage their permissions.
Create groups: organize users into groups and assign specific permissions for booking desks.
Allocate desks: allocate specific desks to users if needed.
Custom booking rules: set custom booking rules for different groups to control desk reservations.
