User registration is based on email invitations. Colleagues need to accept the invite to access Dibsido.
Go to users: Navigate to the "Users" section, which is in the settings menu within the Dibsido app.
Add user: Click on the "Add User" button.
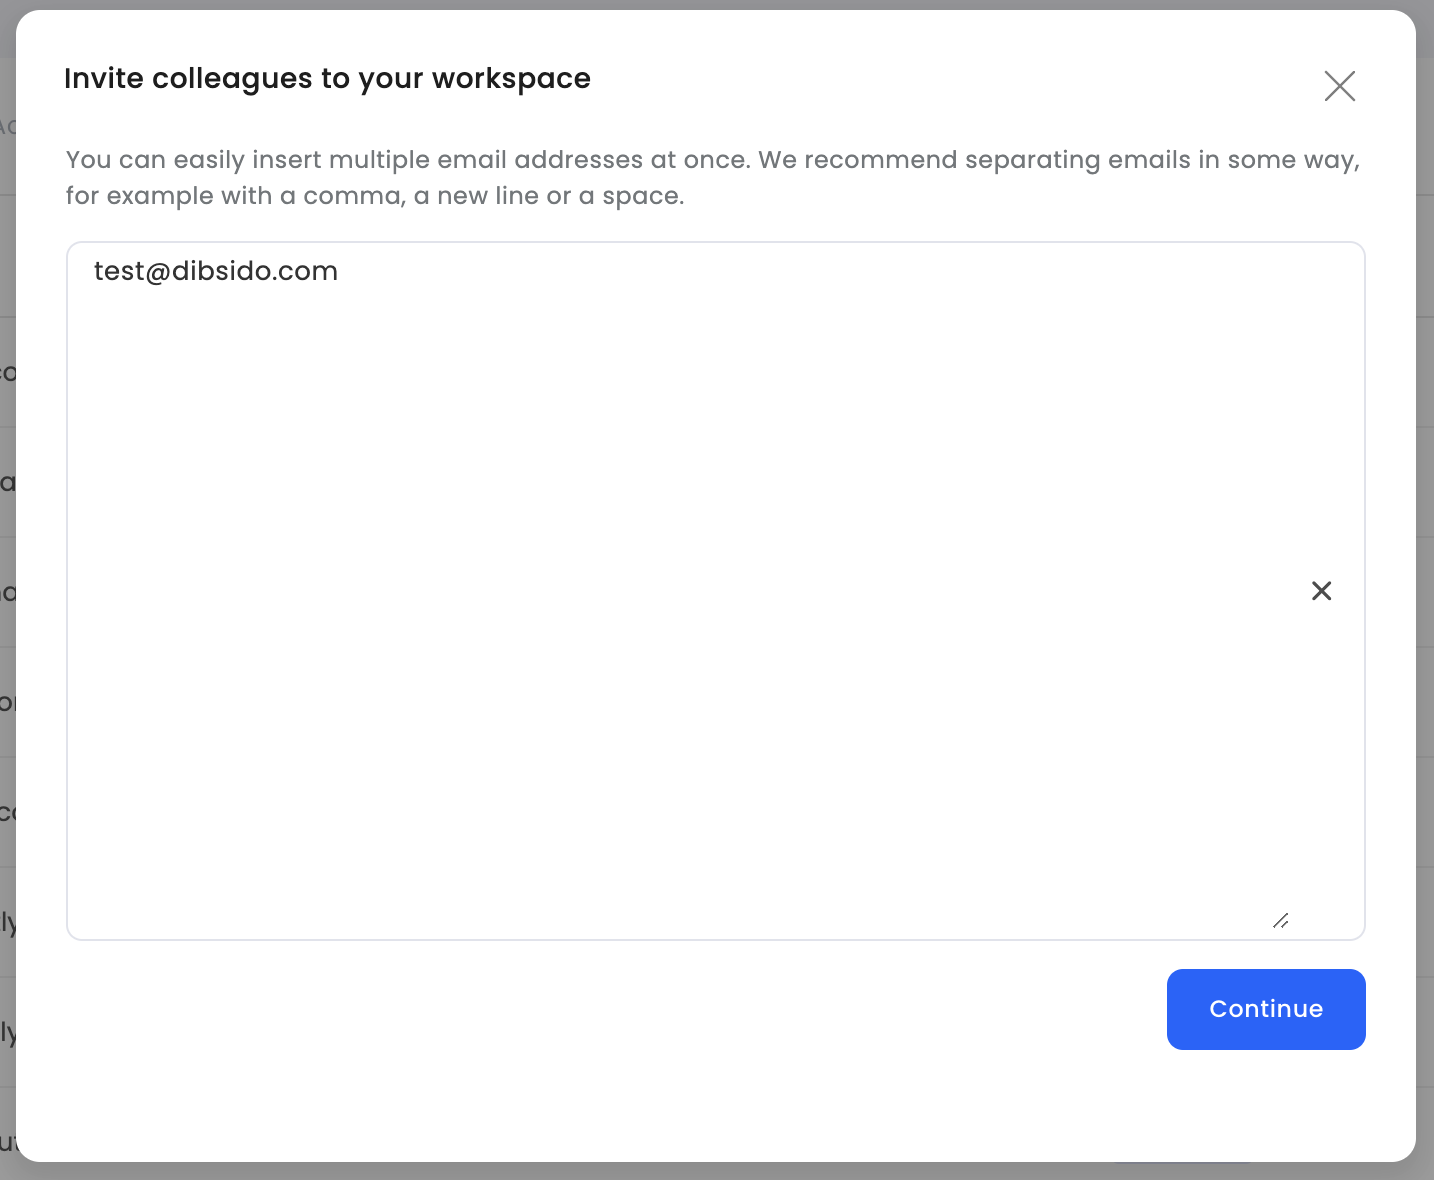
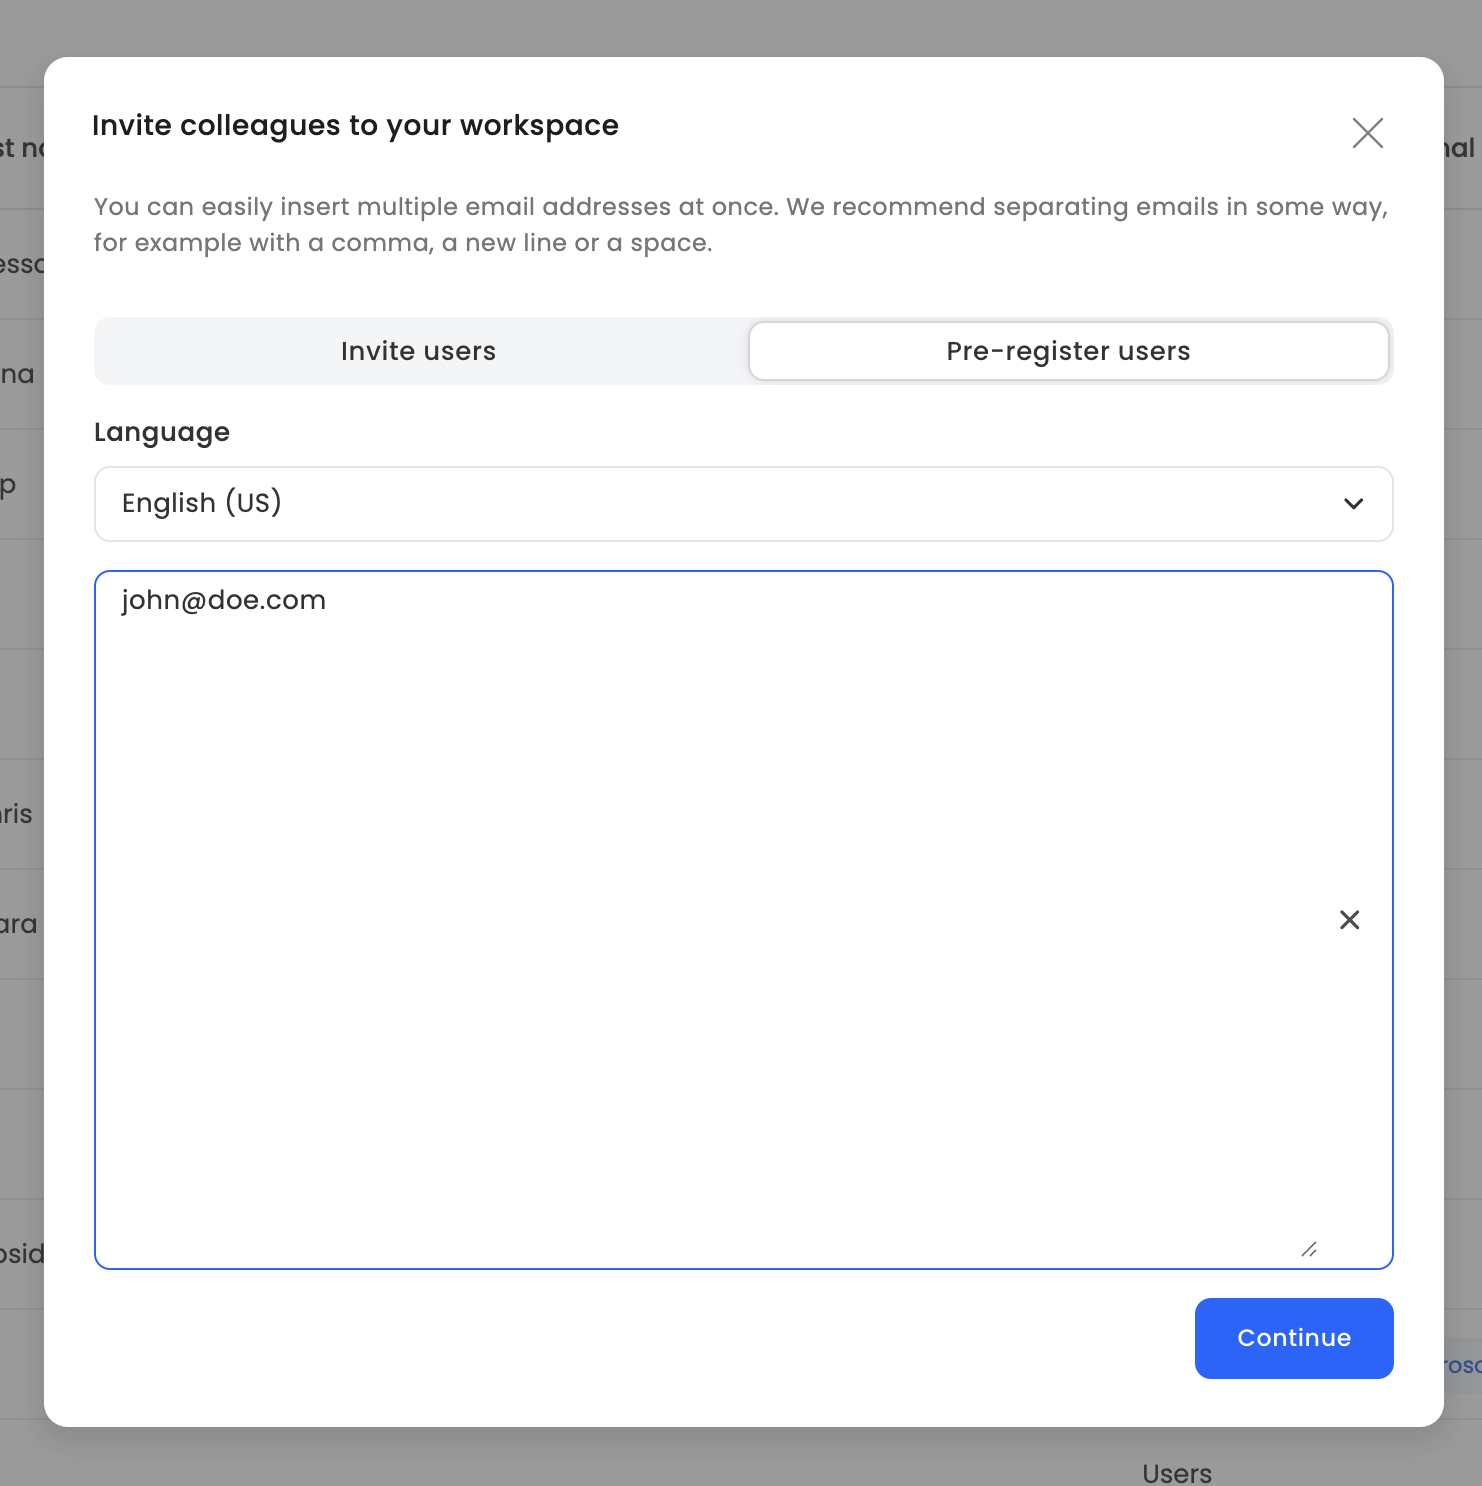
Enter email addresses: Write down the email addresses of the colleagues you want to invite, or copy and paste them from your file.
Set roles: After entering the email addresses, Dibsido will recognize them, and you can immediately assign a role to each user. Roles help determine what access and permissions each user will have within the platform.
Send invites: Confirm your entries, and Dibsido will send email invitations to the selected employees.
Acceptance: Colleagues need to accept the invitation to gain access to Dibsido.

Instead of sending an immediate email invitation, you can choose the Pre-registered Users option in the invitation dialog. When this option is selected, the users are created in Dibsido but do not receive an email invitation yet.
This is especially useful during company onboarding, as it allows you to fully prepare the platform before giving employees access. With pre-registered users, you can:
Assign desks or parking spots to individual employees in advance.
Create groups and organize users by department or team.
Configure booking rules and permissions so that everything is ready from day one.
Once you have finished setting up the platform, you can send the invitations to all pre-registered users at any time. This way, when employees first log in, their workspace is already prepared for them.
We recommend using this approach when onboarding a new company or adding a large number of users at once.
Once users have accepted their invitations, you can further manage their permissions and access within Dibsido:
Create groups: Organize users into groups and assign specific permissions based on their roles. This helps streamline management and ensures that users only have access to the features and resources relevant to them.
Assign resources: If necessary, you can allocate specific resources (such as desks, parking spots, or other assets) to individual users.
Set custom rules: Customize booking rules or other permissions for different groups, tailoring access and functionality to meet your company’s needs.
