For Admins and Operators:
Navigate to the Visits in the Office module.
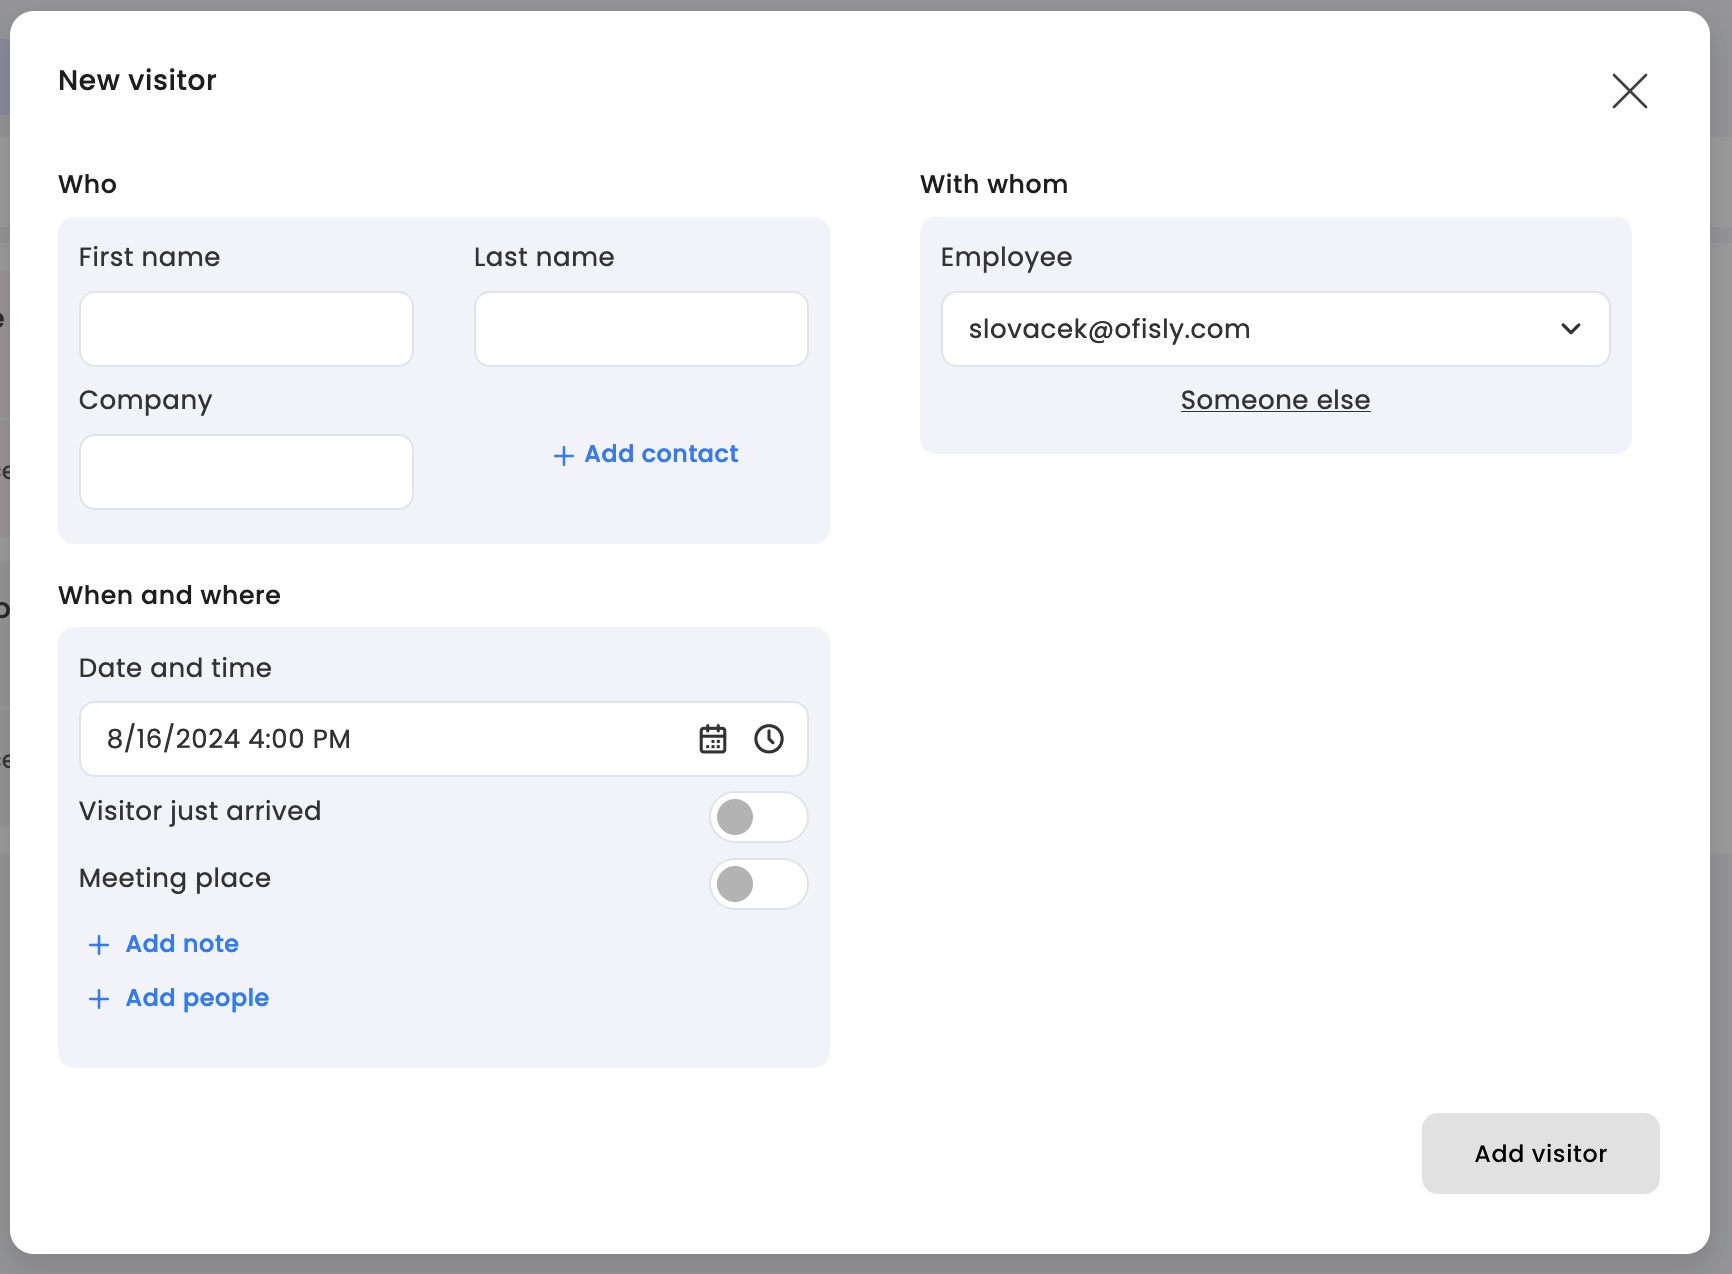
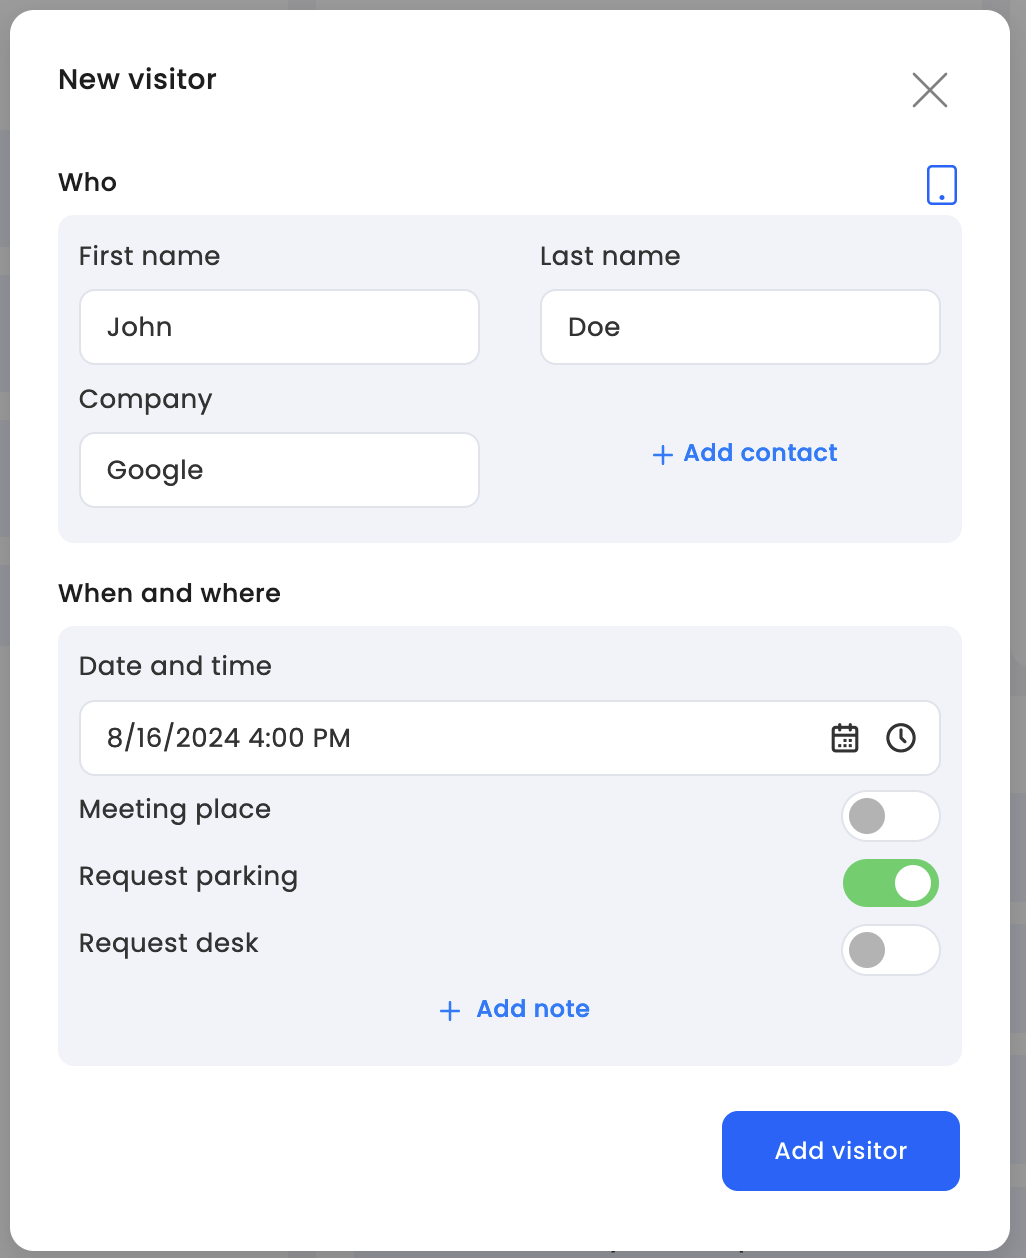
Click on the "Add Visitor" button.
A form will appear where you need to fill out the necessary information such as:
The guest's first and last name
Company name (if applicable)
Email and phone number for contact
Time and date of the visit
Employee the guest is visiting
Meeting place (optional)
After filling out the form, click "Add Visitor" to confirm the entry.
For Regular Users:
You can add visitors directly from your Dashboard using the Quick Actions feature.
Simply select "Add Visitor" and fill out the required fields, such as the visitor's name, time of visit, and who they are visiting.
This option must be enabled by your company’s administrator in the Guestbook settings.
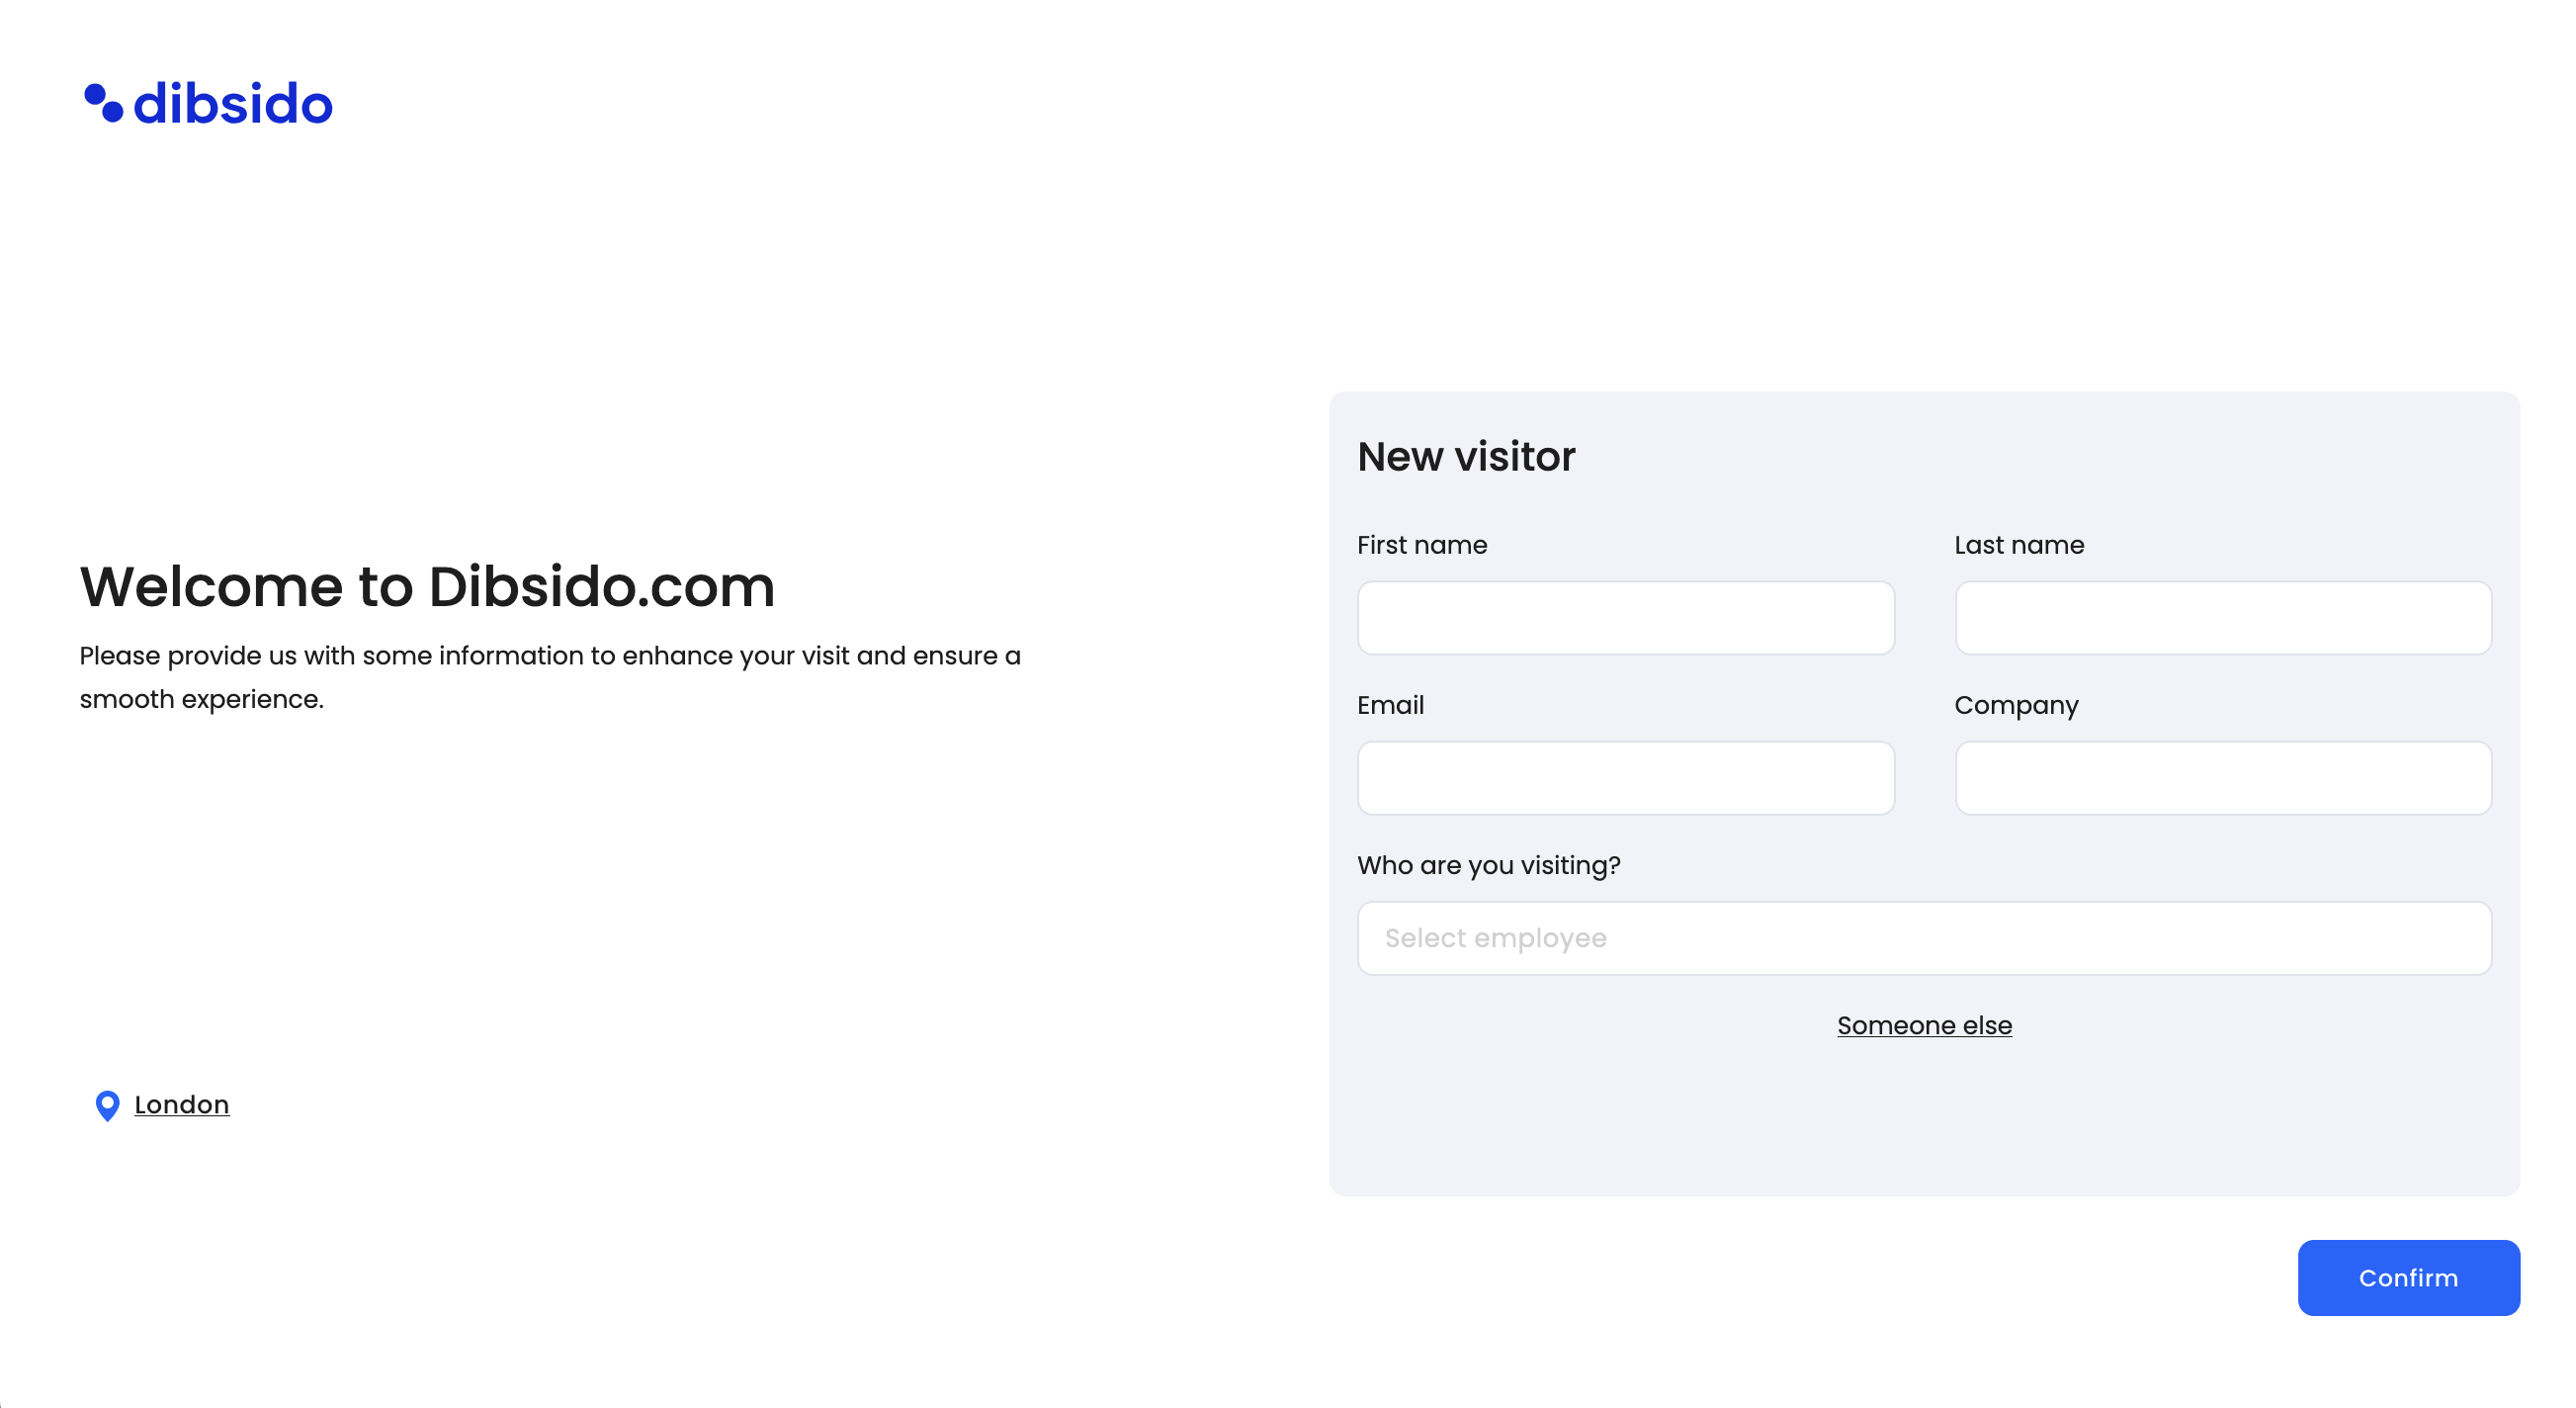
Dibsido also supports adding visitors through a Tablet View. This is typically used at the reception area where guests can check in themselves.
For more details on setting up and using Tablet View, refer to our guide on configuring Tablet View.
By following these steps, you can efficiently manage guest visits in your office, ensuring a smooth and organized experience for both employees and their visitors.