Before you can assign locations to workplaces, you need to make sure that the Locations feature is turned on in Dibsido. To enable Locations:
Go to the "Settings" menu.
Select "General."
Make sure the "Locations" feature is turned on.

Navigate to desks settings:
Start by going to the "Settings" menu within the Dibsido app.
Select the "Desks" option from the available settings.
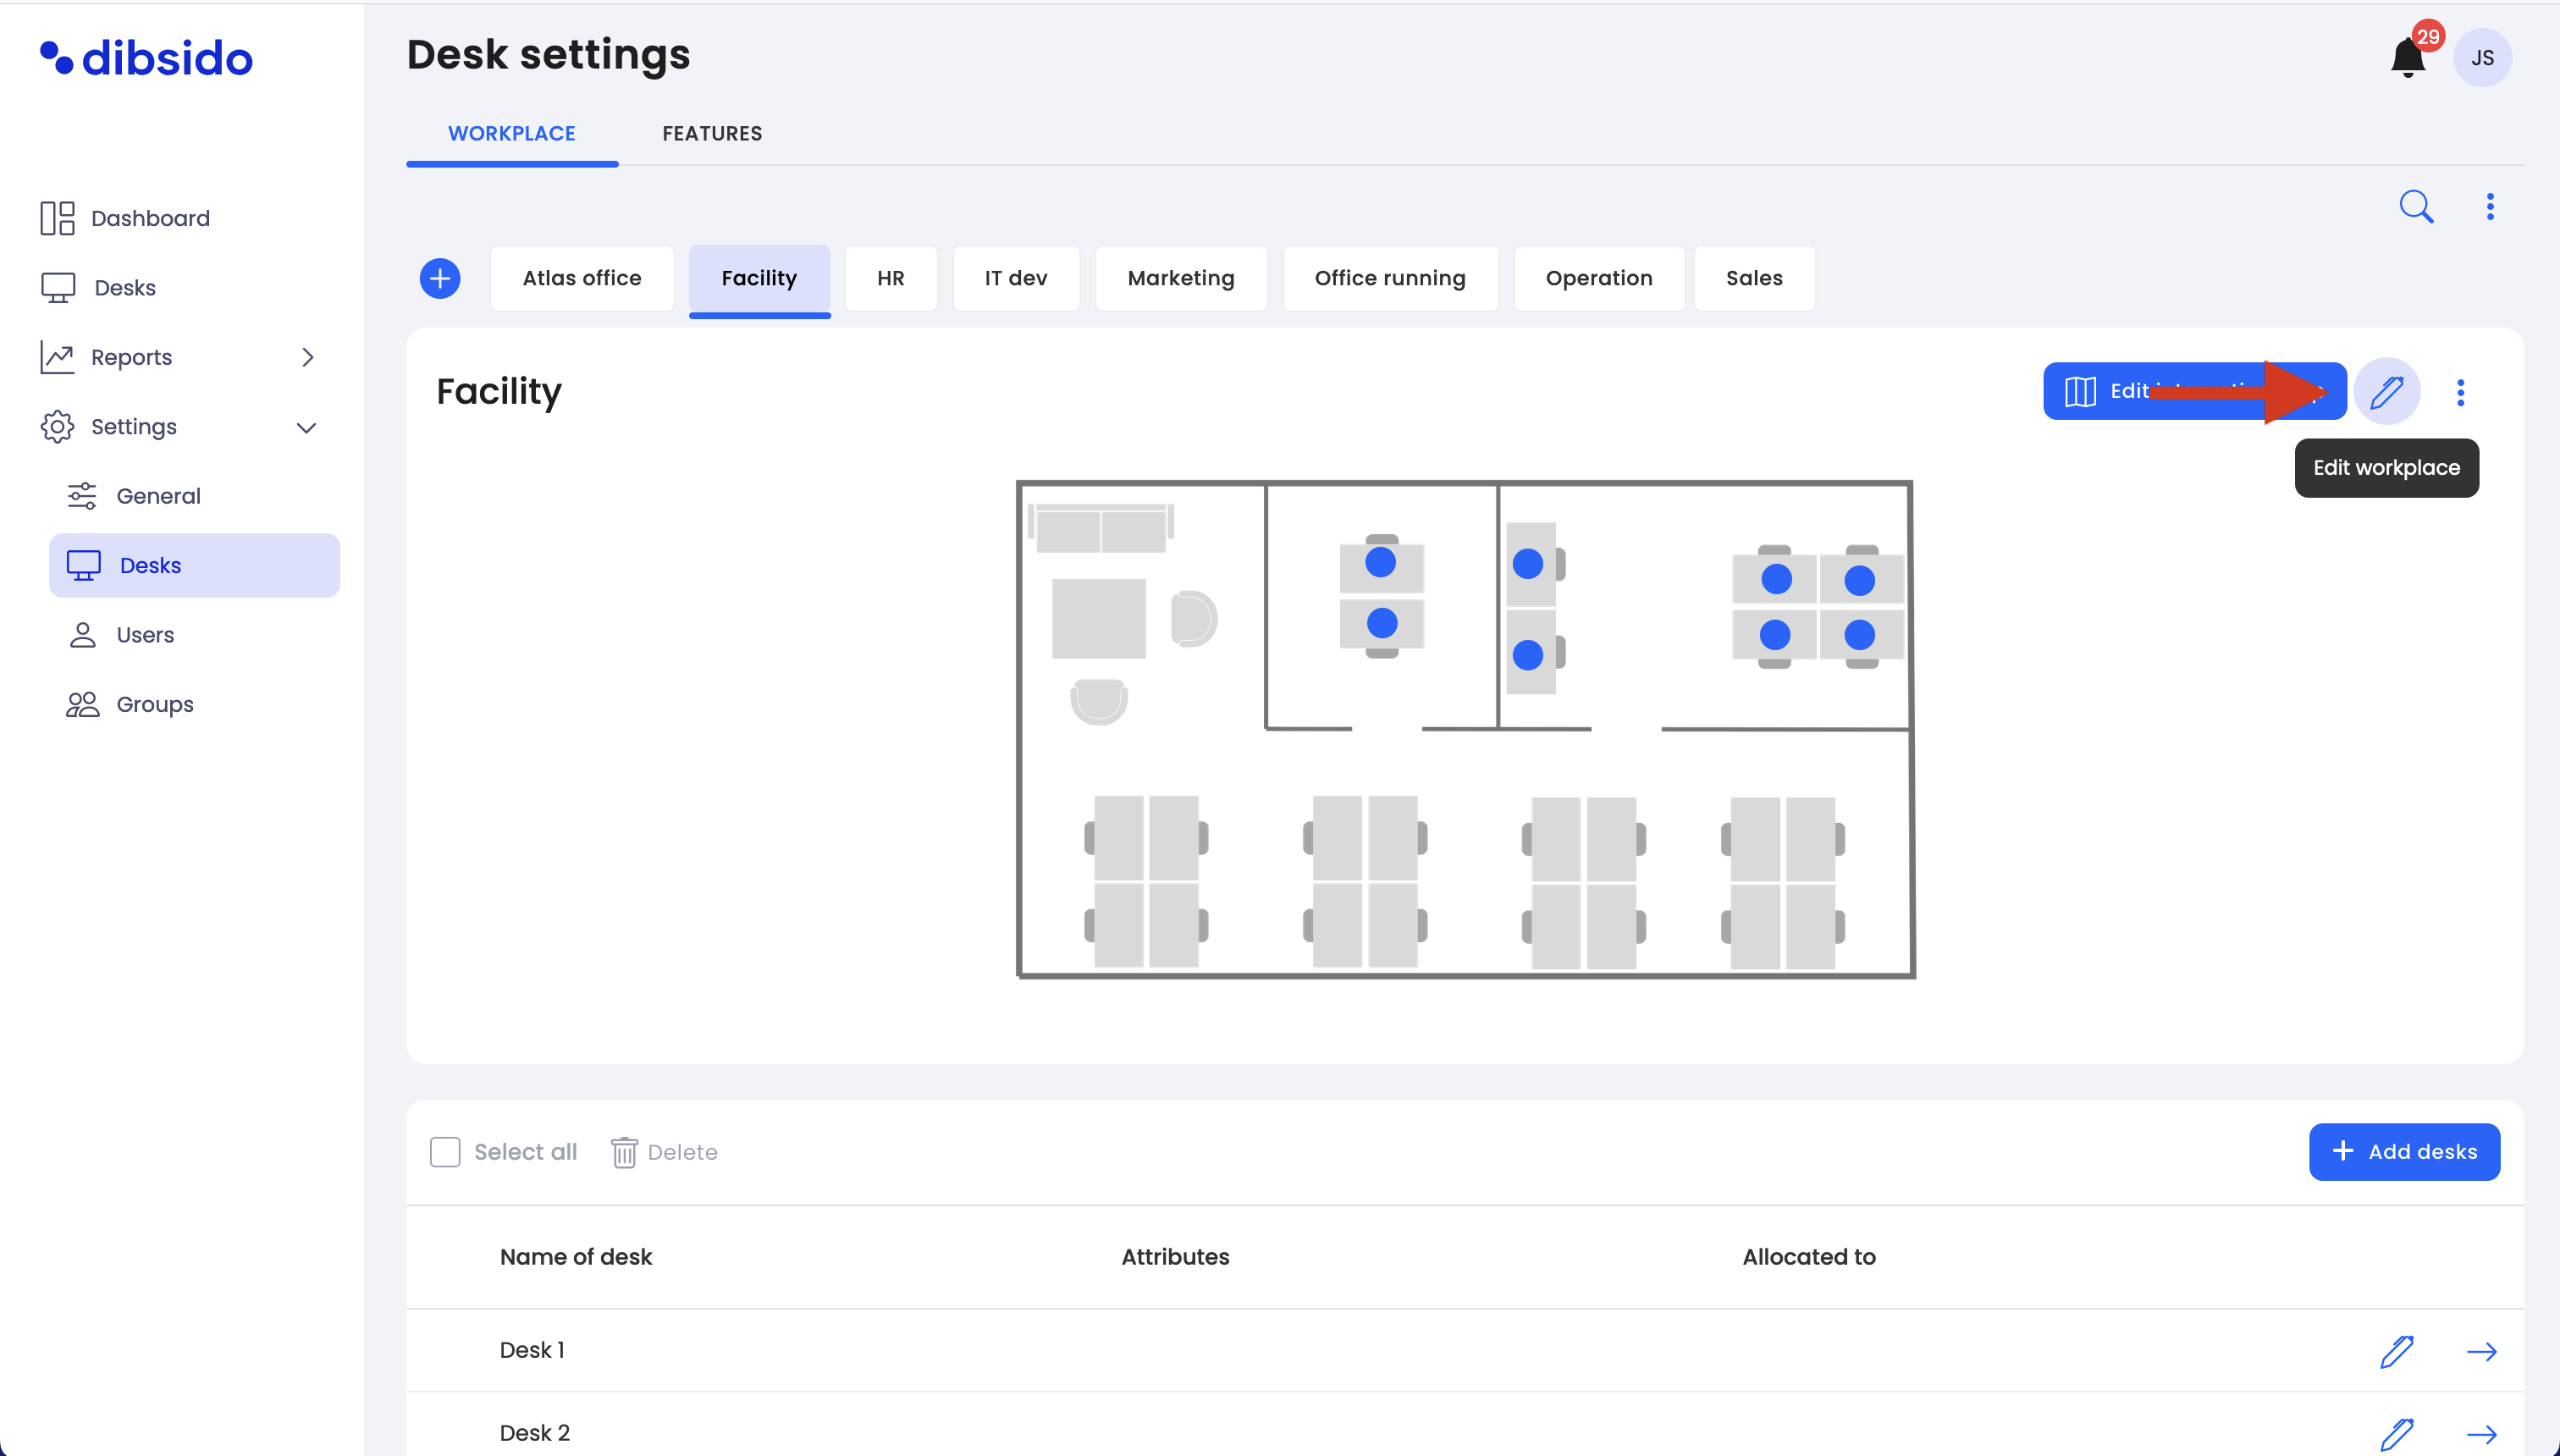
Edit the workplace:
In the desks settings, you will see a list of your existing workplaces.
Locate the workplace you want to assign a location to, and click on the edit button (represented by a pen icon) in the right corner.
Assign the location:
Once in the workplace configuration screen, find the field labeled "Location."
Click on the dropdown menu and select the appropriate location that corresponds to the branch or office where this workplace is situated.
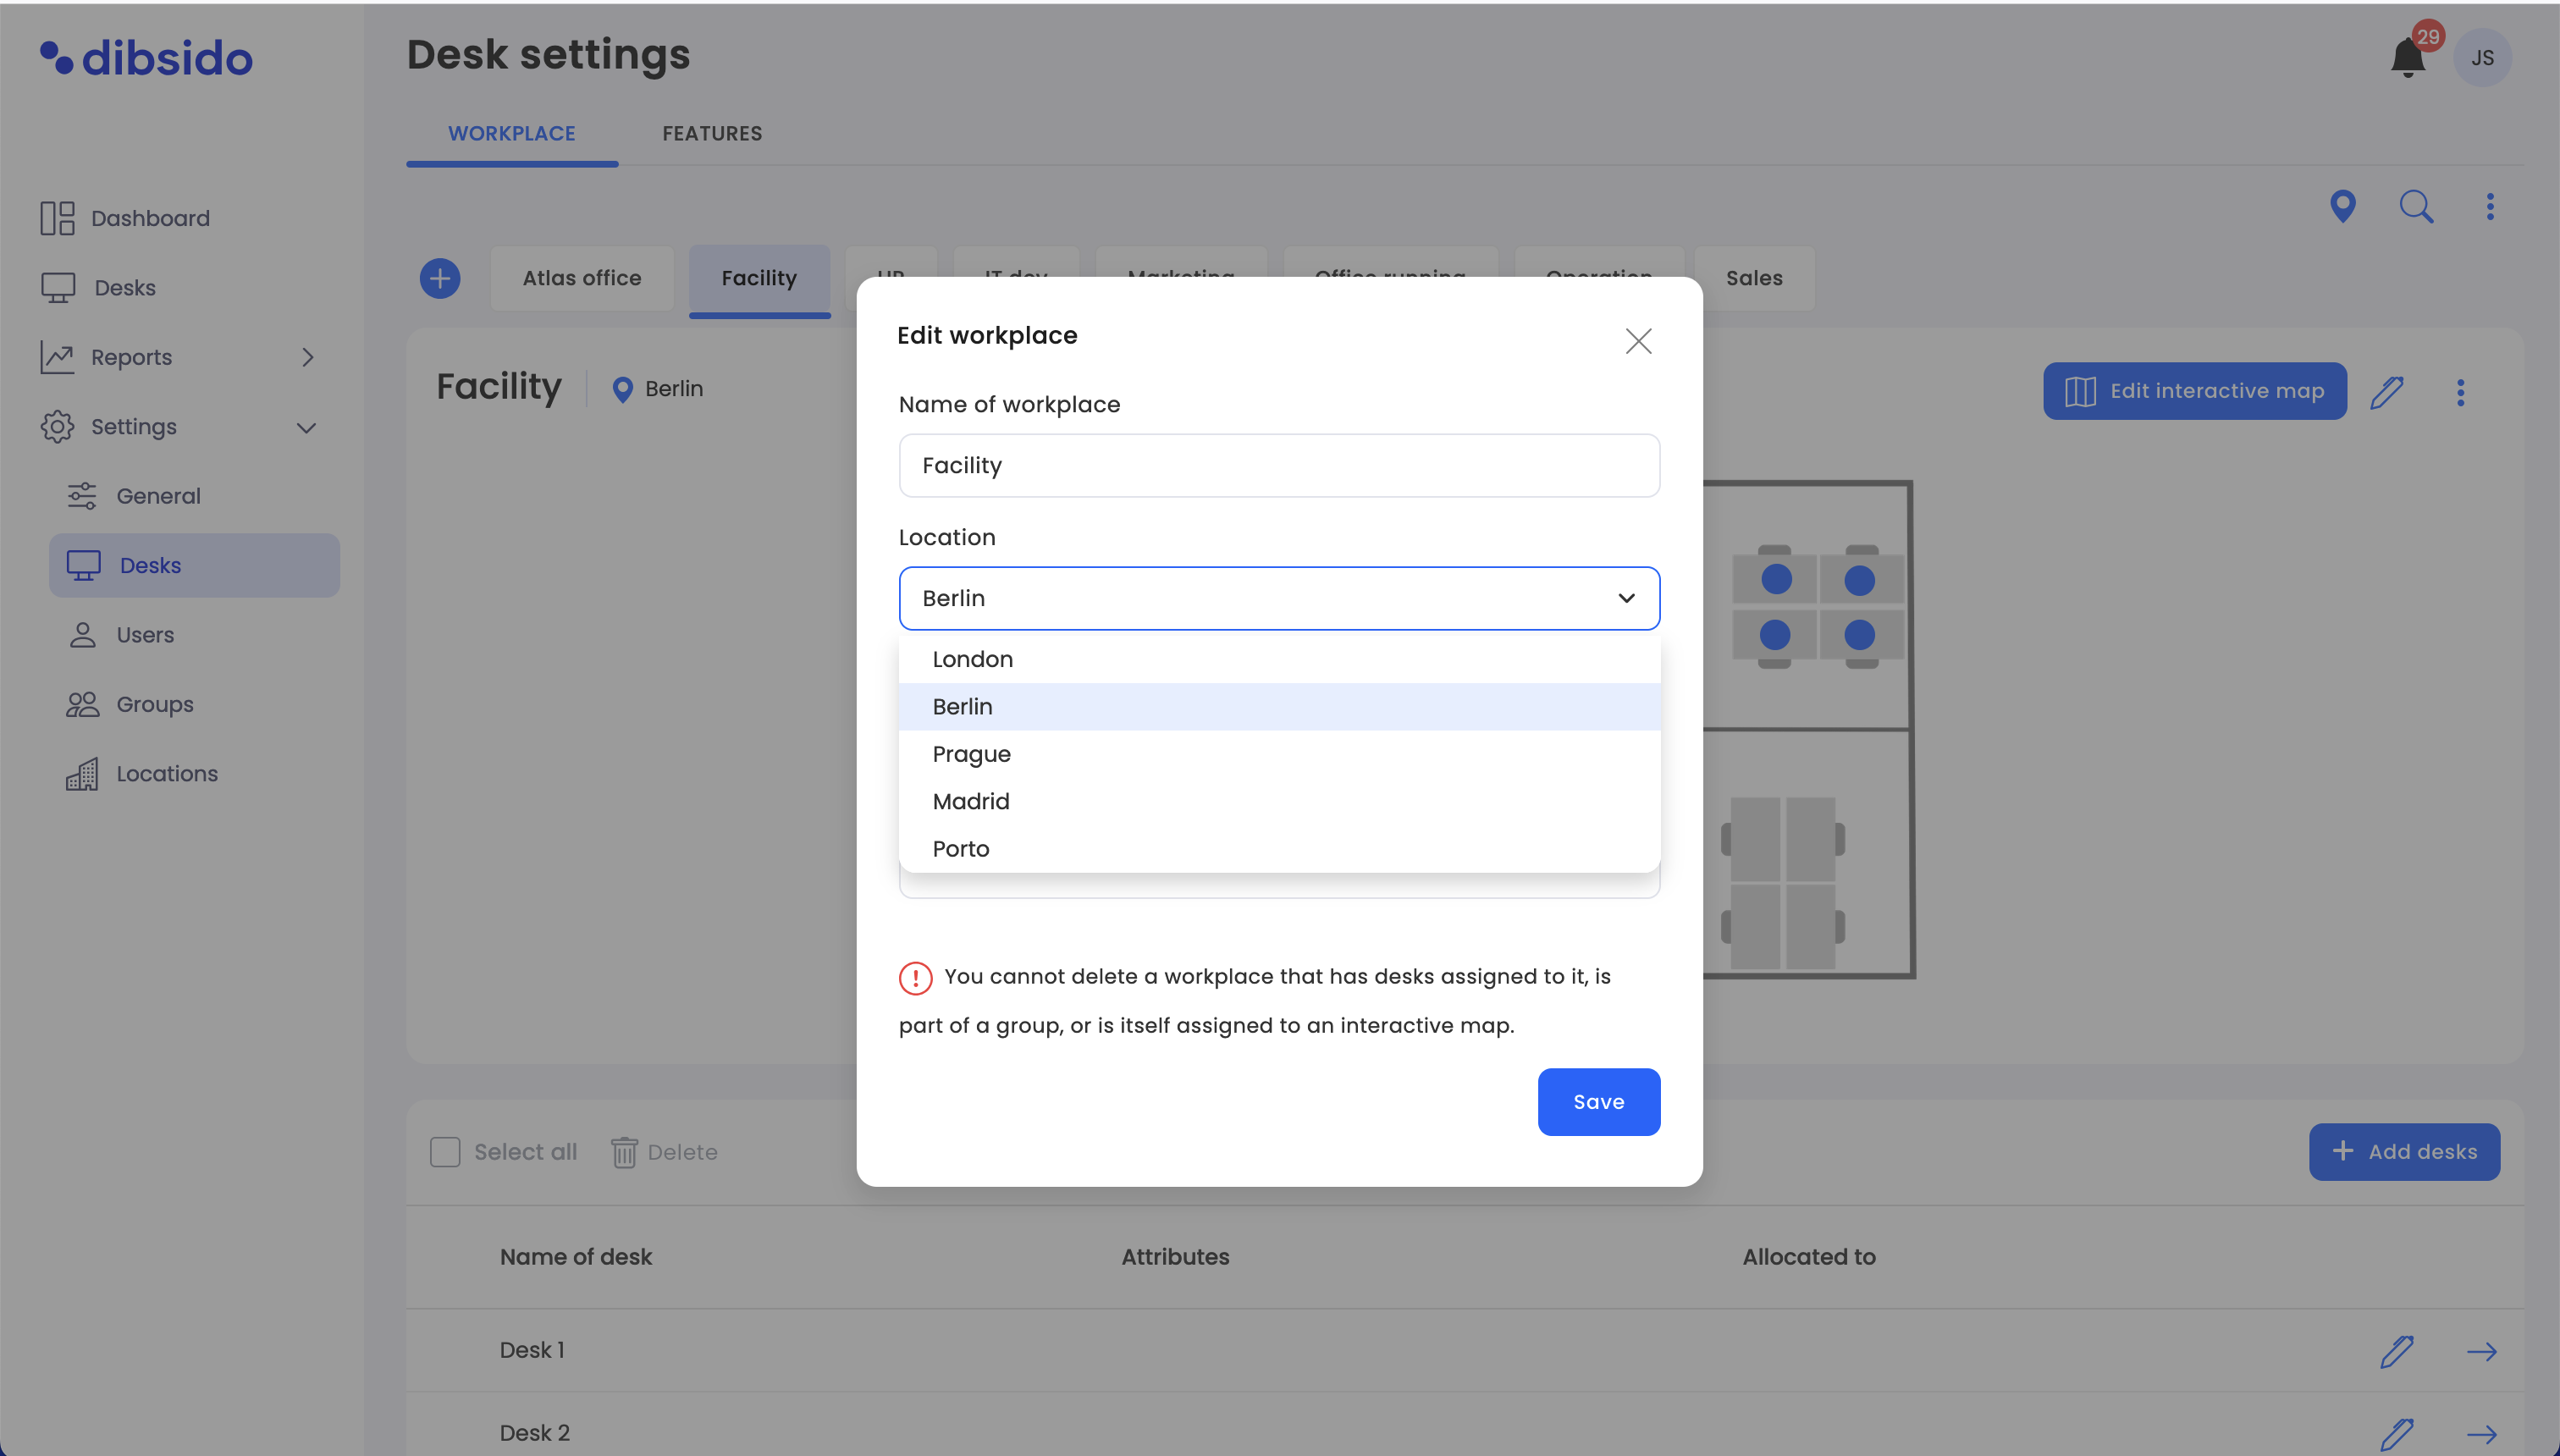
Save your changes:
After selecting the correct location, click the "Save" button to apply the changes.
By following these steps, you ensure that each workplace is properly assigned to the correct location within your organization. This helps users easily identify and book desks in the appropriate branch or office, streamlining the workspace management process and enhancing overall efficiency.
