Desks don't have recurring series. To book the same desk regularly, use quick repeat, or ask an admin to assign the desk to you permanently. Recurring series are available for meeting rooms only, see How to create and manage a recurring meeting-room series.
Open the booking sidebar: Click the desk on the map or in the list.
Pick the first date and time: Choose the day and the time you need.
Turn on Repeat booking: Switch on the toggle, choose a weekday from Monday to Friday and set the end date.
Book: Click "Book desk".
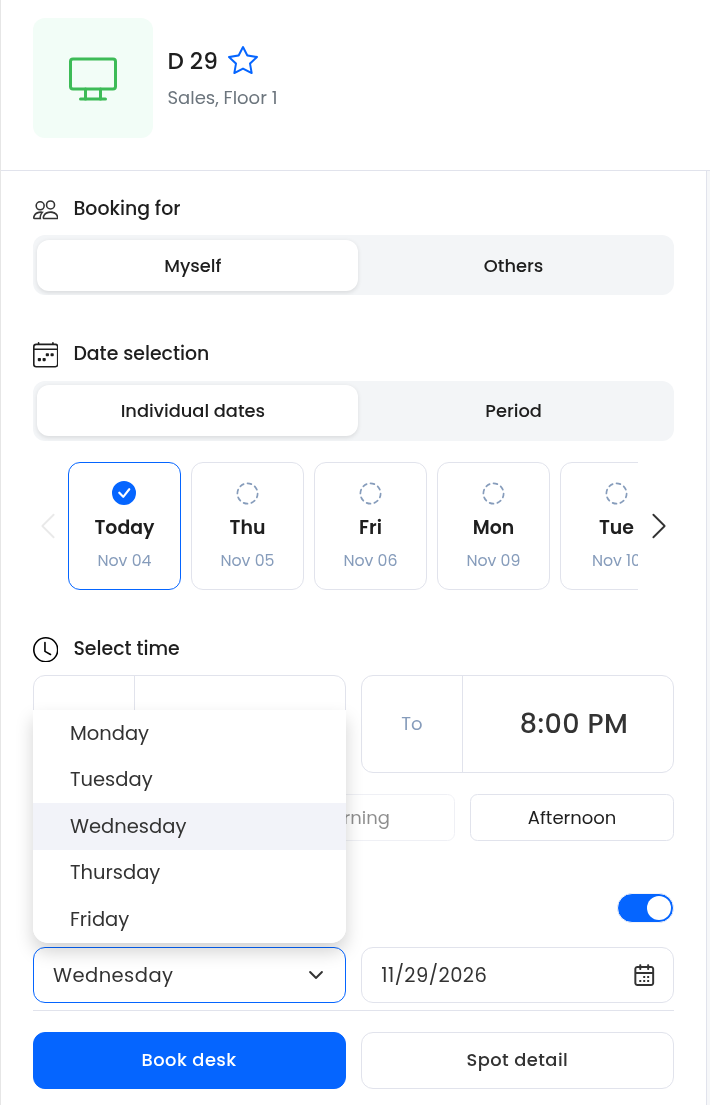

Quick repeat stops at the "Repeating booking limit". Admins set it in Settings → Desks → Booking configuration. By default it matches "Booking timeframe". Admins and operators can book further ahead for others, up to 1 year for desks.
More details: Understanding repeating booking limits for desks.
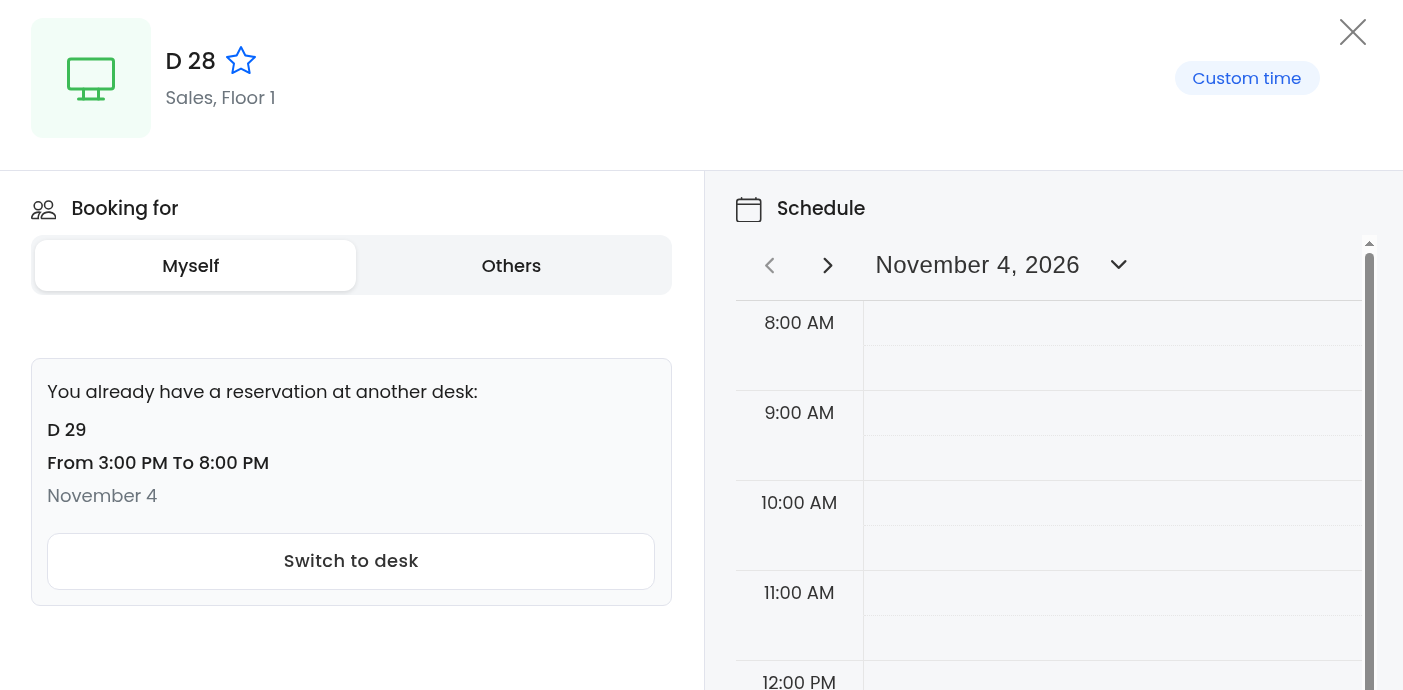
You can book only one desk per day. If you already have a desk that day, you see "You already have a reservation at another desk". Click "Switch to desk" to move your booking to the new desk.
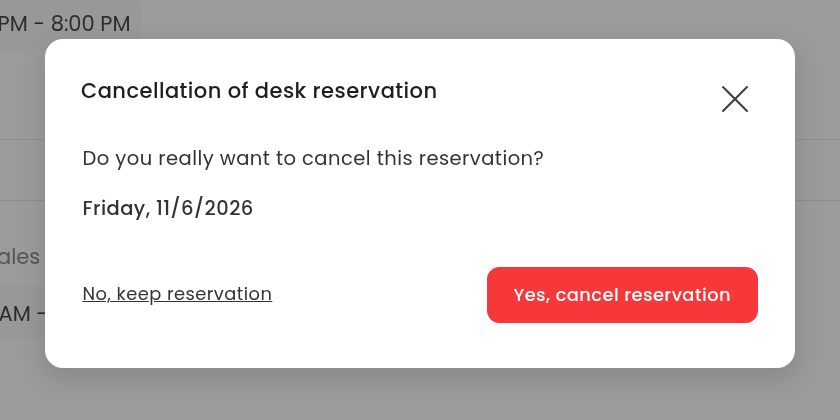
Open the booking: On the Dashboard, open the booking you want to cancel and cancel it.
Confirm: Confirm the cancellation in the dialog.
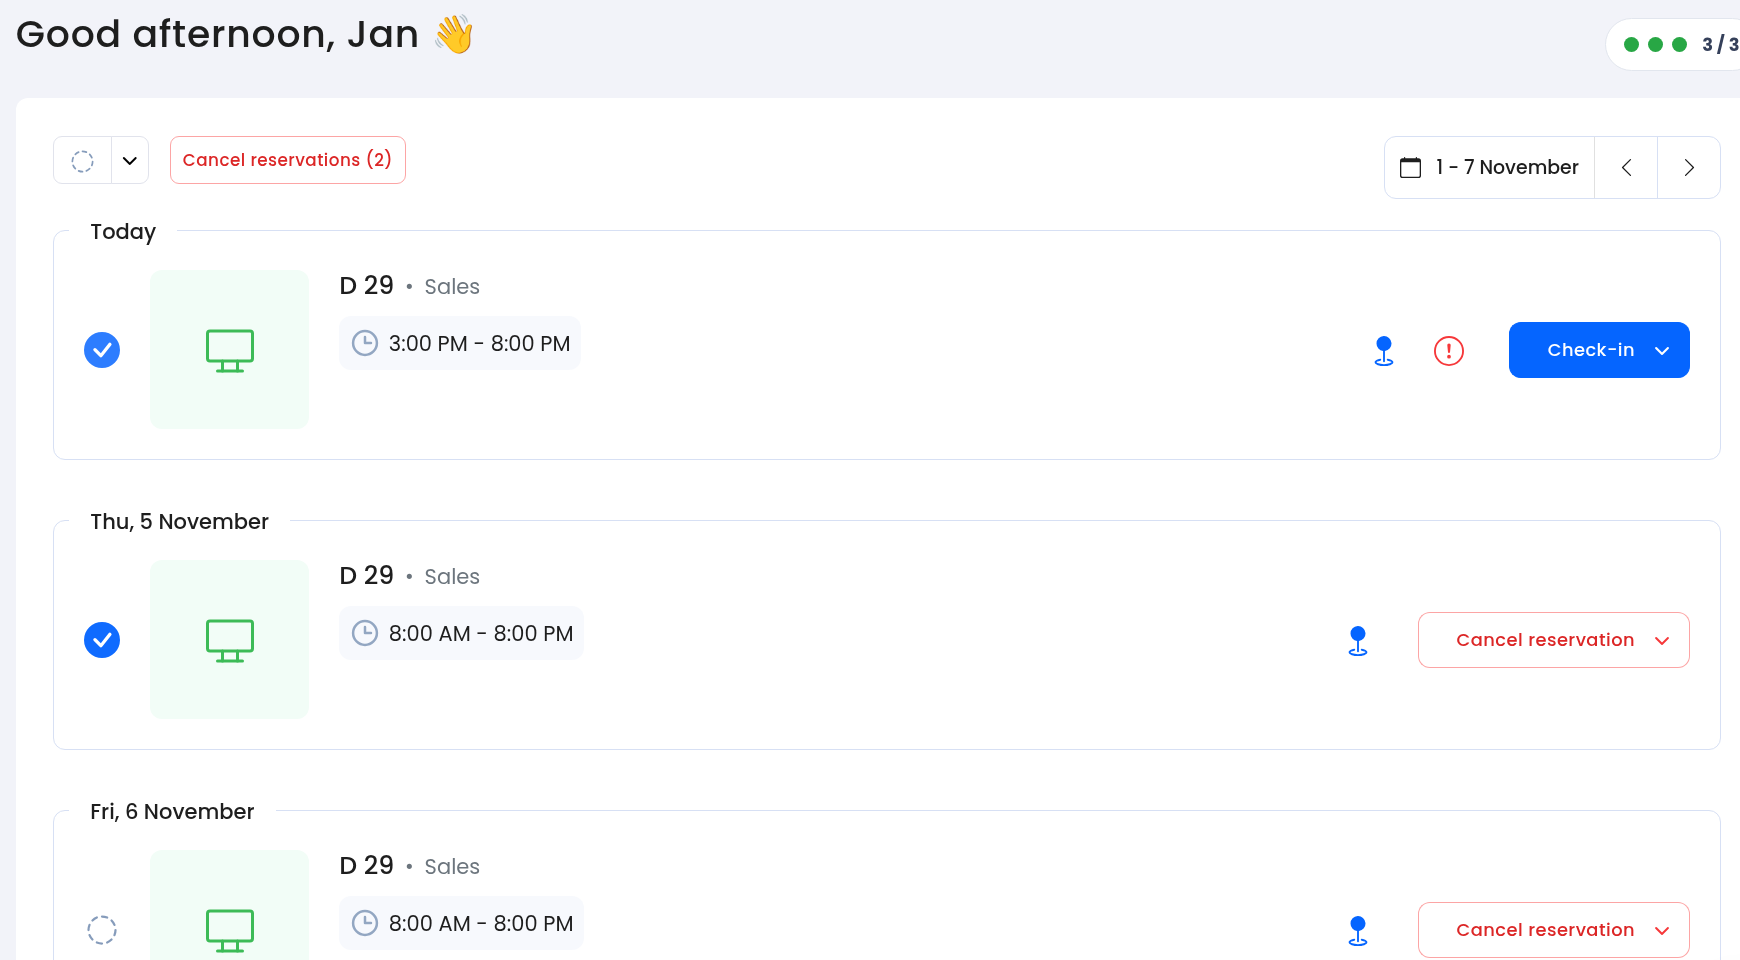
Select bookings: On the Dashboard, select the reservations you want to cancel, or select all.
Cancel in bulk: Cancel the selected reservations in bulk.
Confirm: Confirm the cancellation in the dialog.
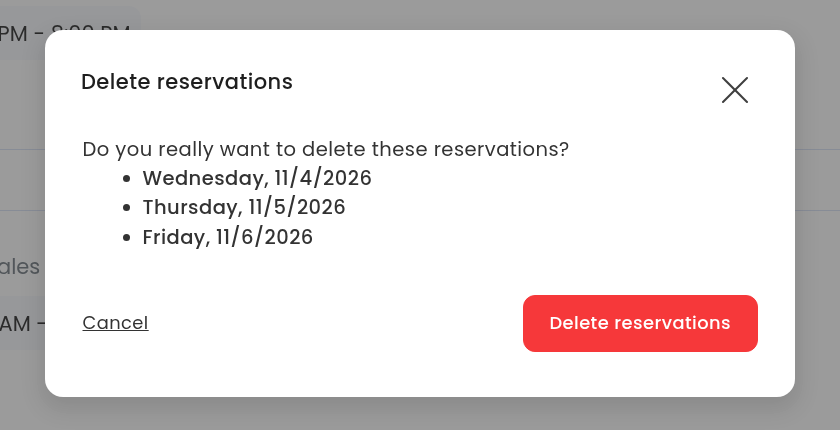
Admins can cancel bookings in two places: in Reports or directly on the desk detail.
In Reports:
Open the report: Go to Reports → Desks → Reservations overview.
Select bookings: Tick the rows you want, or select all.
Delete: Delete the selected bookings.
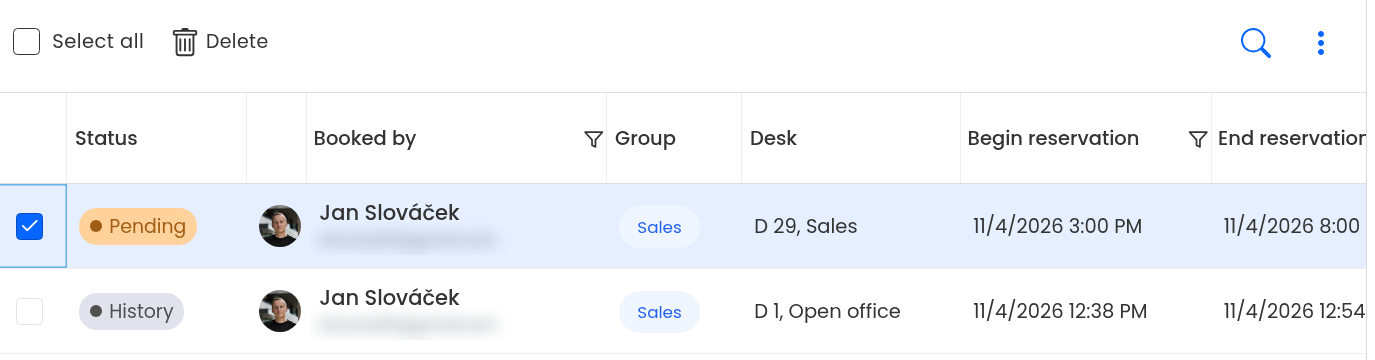
Confirm: Confirm the deletion in the dialog.
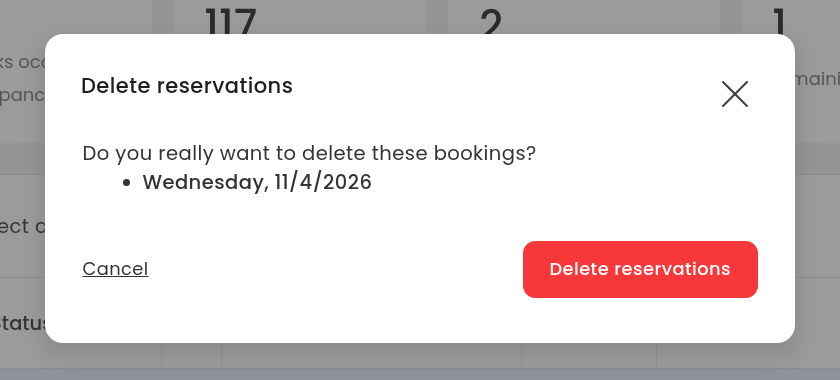
On the desk detail:
Open the desk detail: Go to Desks, select the desk and open Spot detail.
Cancel the reservation: Cancel it from the desk's list of planned reservations.
Instead of a series, an admin or operator can assign a desk to one employee. The desk is then always reserved for them, and they can release it on days they don't use it.
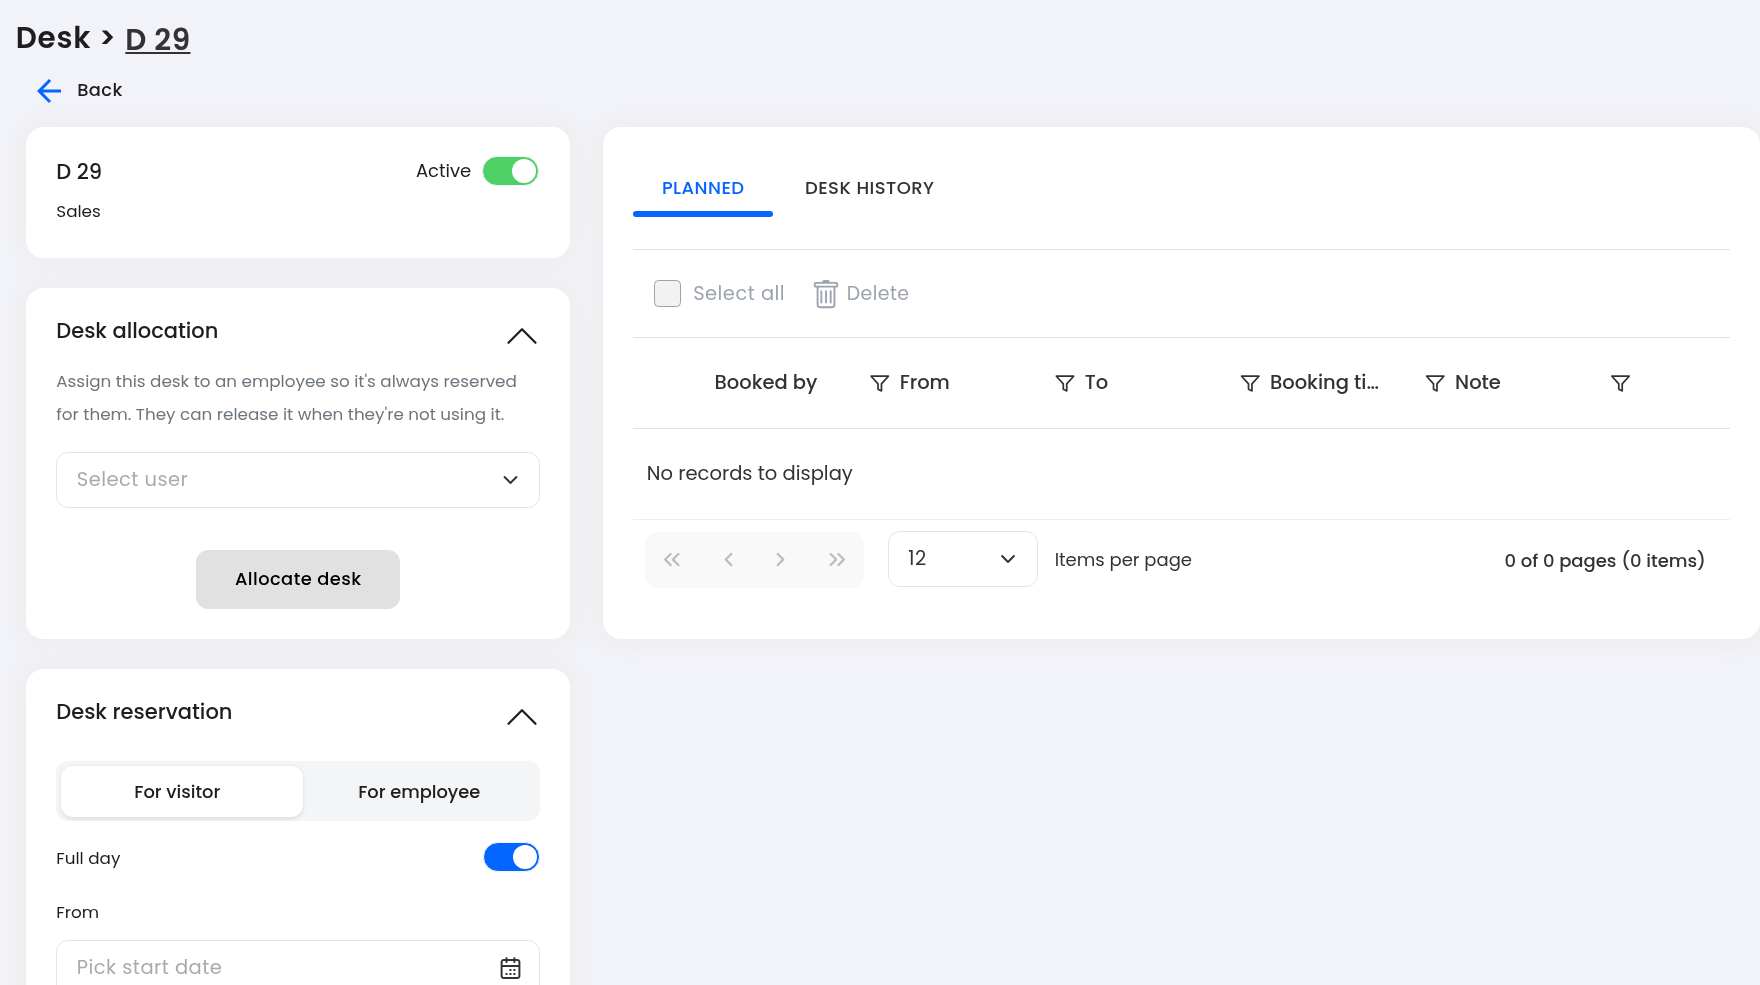
Open the desk detail: Click the desk on the map or in the list, then click "Spot detail".
Pick the employee: In "Desk allocation", click "Select user" and choose the employee.
Allocate: Click "Allocate desk".
More details: How to allocate a desk.
